
How to Fish · Guides
How to Fish catch rates, bait pools and bite times
Dazed Games
Match the bait to the creature you need. The tables below show every published bait pool in How to Fish 1.0.12, with selection shares calculated from its catch weights. A 10% fish selection followed by the separate 10% Drip roll gives a 1% chance of that Drip species per eligible selection. Landing and killing it are still separate steps.
The quick bait guide explains the basic controls. Use this page for exact pools, shop stock and the conditions behind the numbers.
Bait prices and shop locations
These are actual active shops. Island numbers identify where you can buy the bait, not a geographical restriction on its ordinary fish pool. The purchase prompt uses the bait's localized name and price, even when an internal scene object has an older name.
| Bait | Price | Islands selling it |
|---|---|---|
| Hot Dog | $1 | 1, 2, 3, 4, 5 |
| Beginner Lure | $3 | 2, 3, 4, 5 |
| Beginner Boss Lure | $40 | 2, 3, 4, 5 |
| Standard Lure | $15 | 3, 4, 5 |
| Standard Boss Lure | $280 | 3, 4, 5 |
| Coconut | $350 | 3 |
| Professional Lure | $50 | 4, 5 |
| Professional Boss Lure | $1,200 | 4, 5 |
| Scientific Lure | $500 | 5 |
| Scientific Boss Lure | $5,800 | 5 |
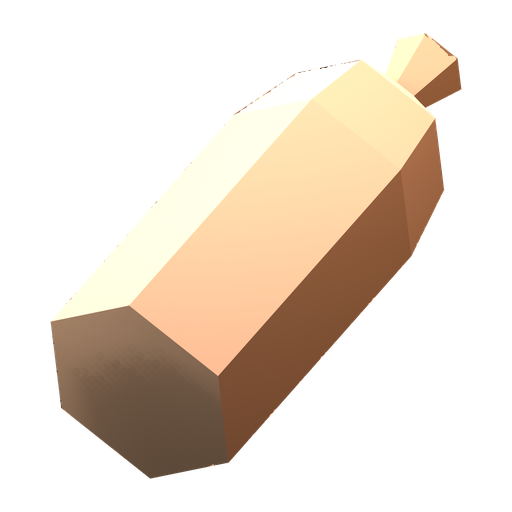
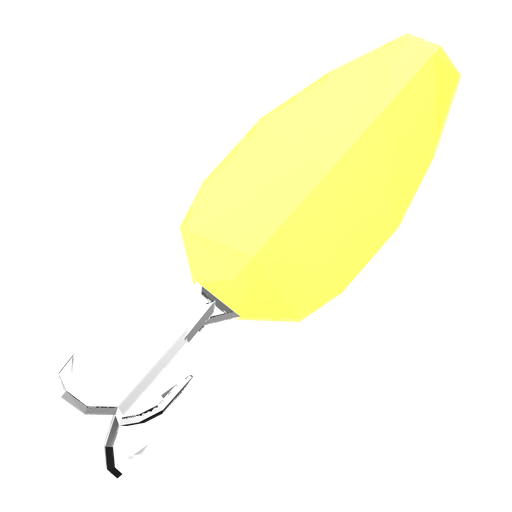
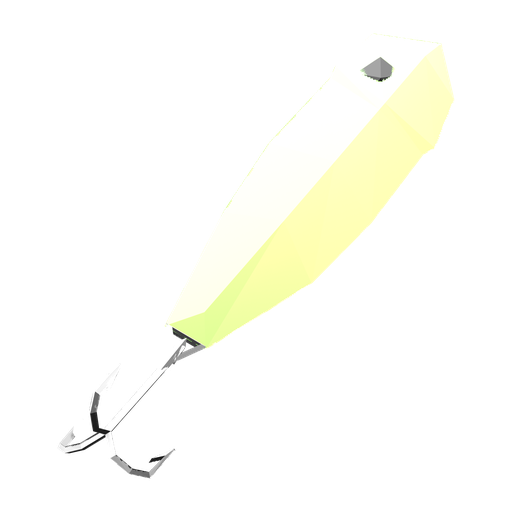
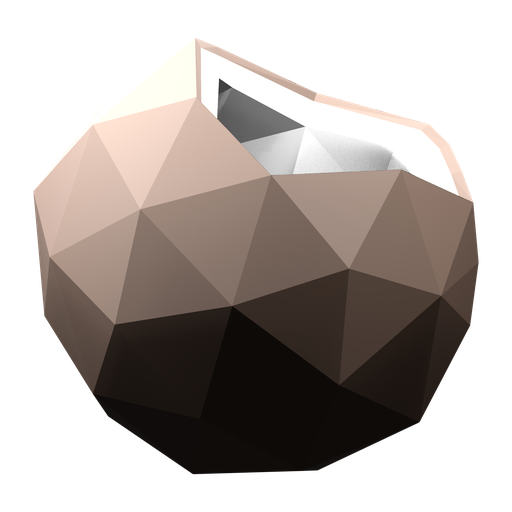
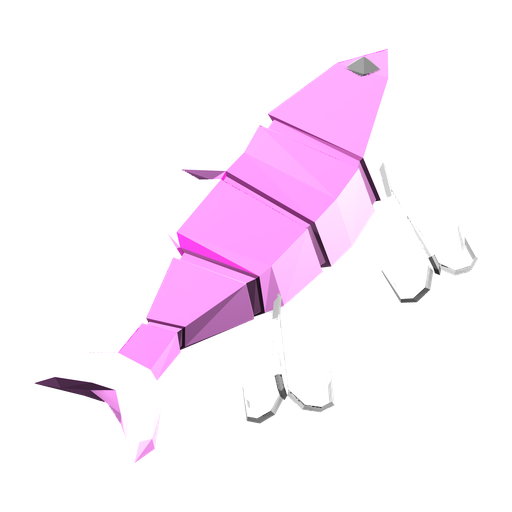
Coconut is sold only on Island 3 in the active shop data. Quest baits such as the Empty Beer Can and Carrot are acquired through their requests; a base cost in a data record does not establish a shop selling them. See boss lures and quest triggers for those exchanges.
Free defaults depend on the rod
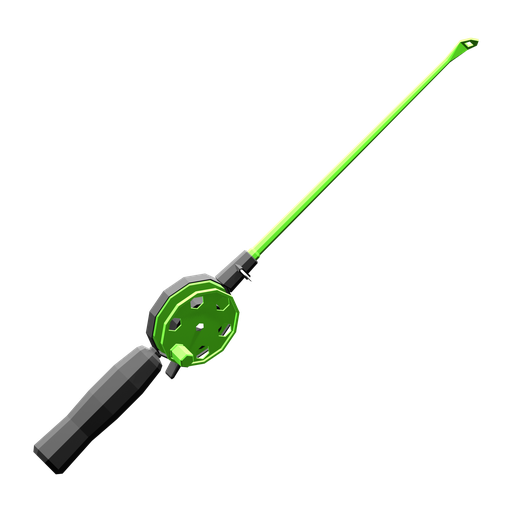
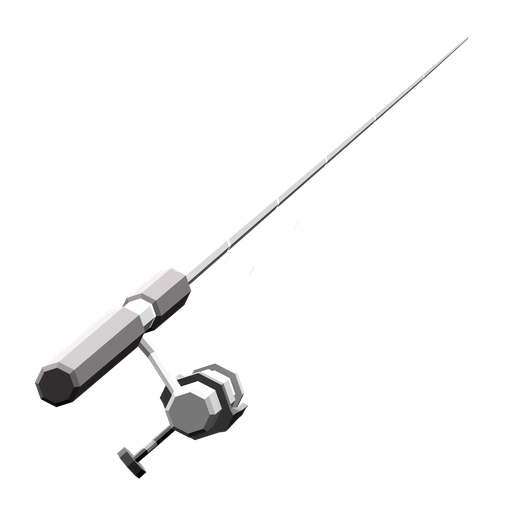
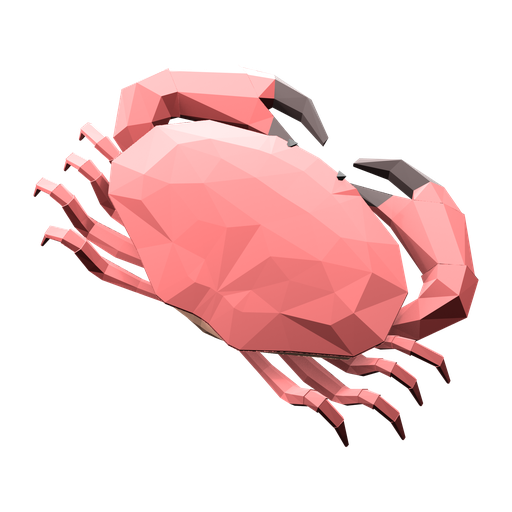
With no purchased bait selected, the Crab-Fishing Rod uses Ham, while the Fishing Rod uses French Fry. These are reusable defaults, not supplies you need to buy one at a time.
| Default bait | Rod | Catch pool |
|---|---|---|
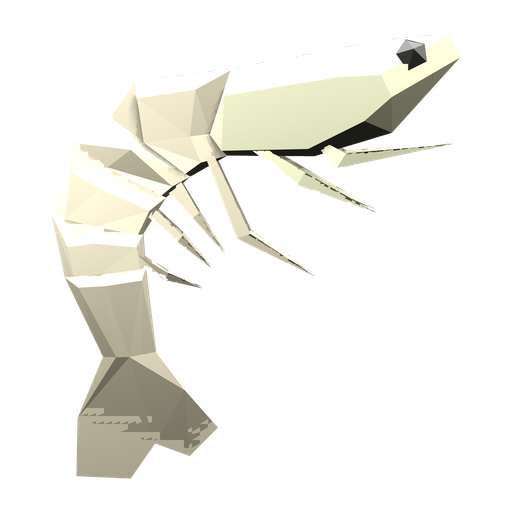
| Ham | Crab-Fishing Rod | Brown Crab 55.56%, Shrimp 44.44% |
| French Fry | Fishing Rod | Mackerel 40%, Gar 40%, Pike 20% |
The catalog also preserves a Nothing record whose pool is 100% Cod. That record is not evidence that selecting no purchased bait gives Cod: the rod's default replaces the empty selection. Use Beginner Lure for a player-accessible Cod hunt.
Equipping the same purchased bait uses that bait's weights on either rod. Changing rods does not improve its Seahorse or Dripper share. Changing back to a rod's default can change the pool entirely.
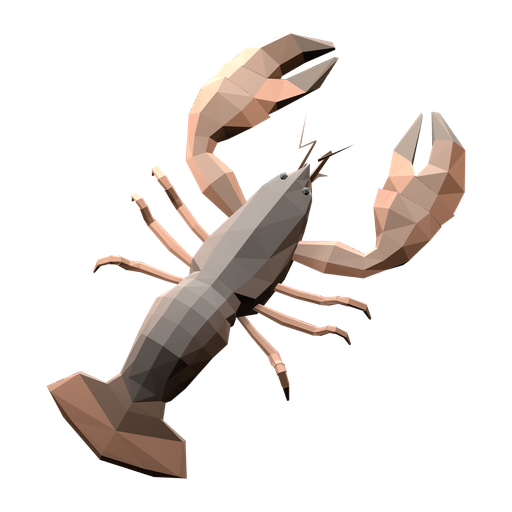
Hot Dog catch pool
Beginner Lure catch pool
| Catch | Weight | Selection share |
|---|---|---|
| Cod | 10 | 17.54% |
| Pike | 10 | 17.54% |
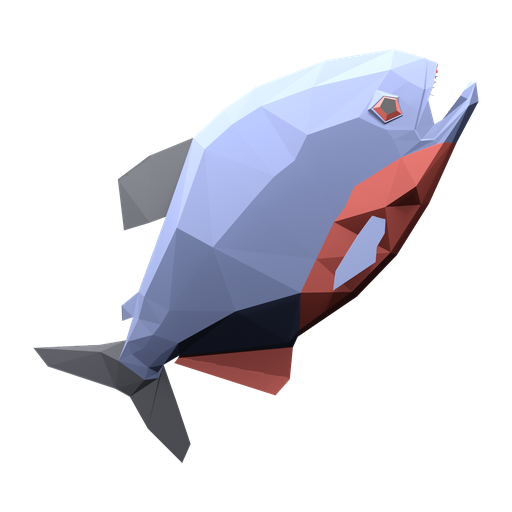
| Piranha | 10 | 17.54% |
| Triggerfish | 5 | 8.77% |
| Goby | 5 | 8.77% |
| Salmon | 7 | 12.28% |
| Goldfish | 4 | 7.02% |
| Perch | 5 | 8.77% |
| Sunfish | 1 | 1.75% |
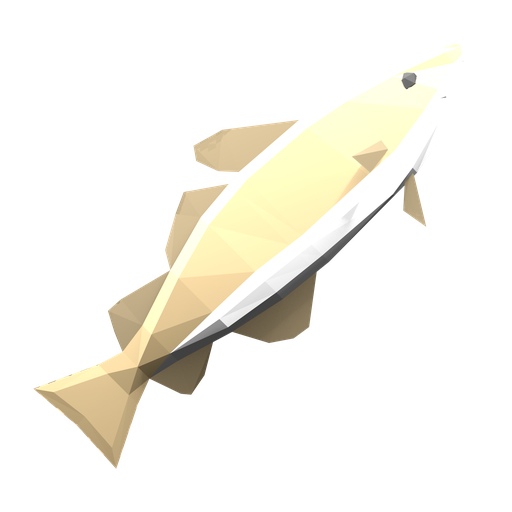
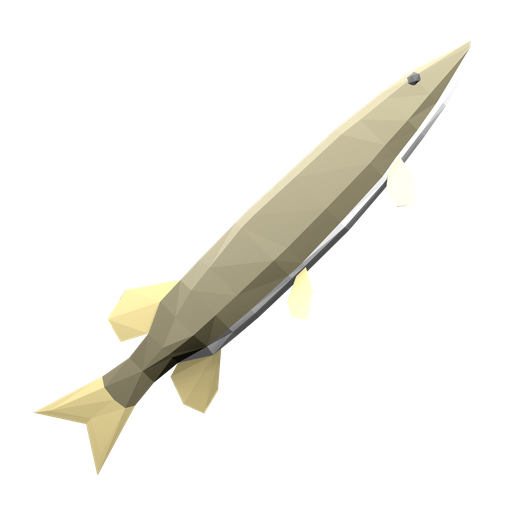
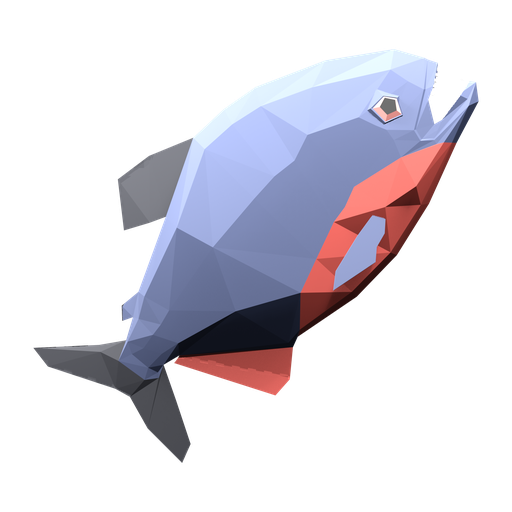
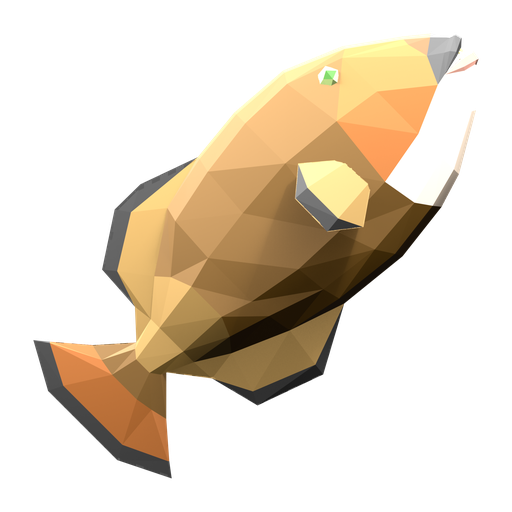
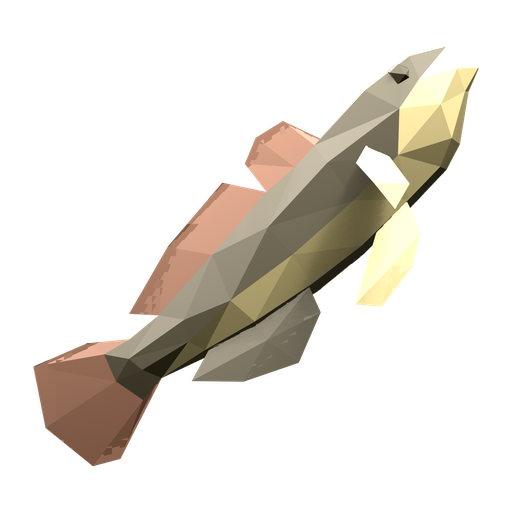
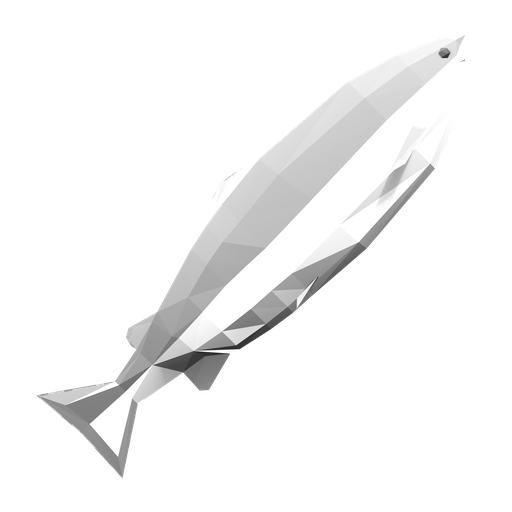
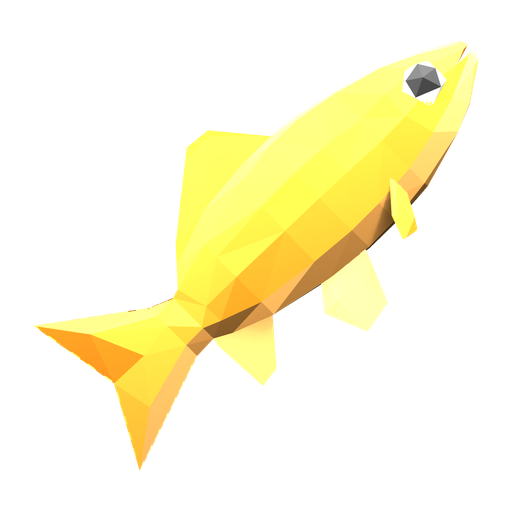
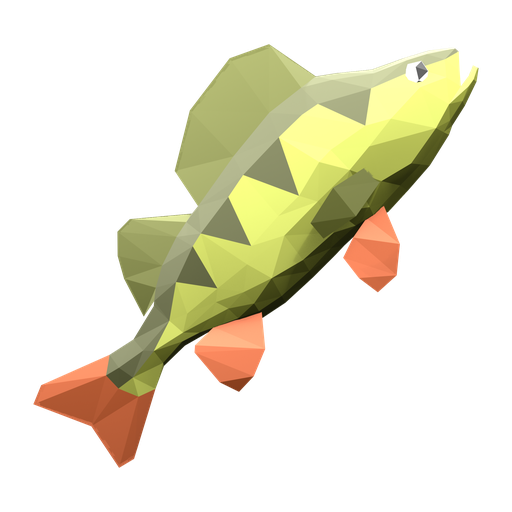
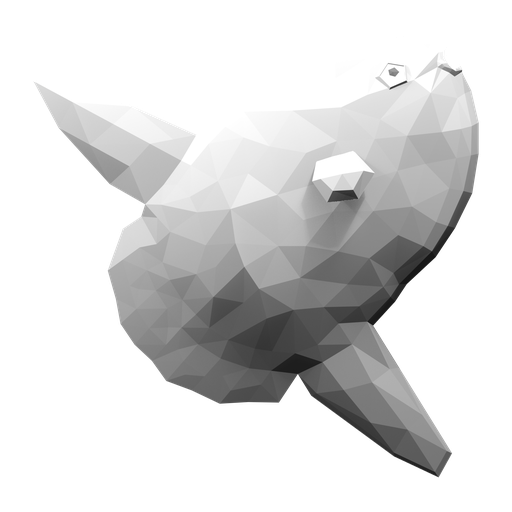
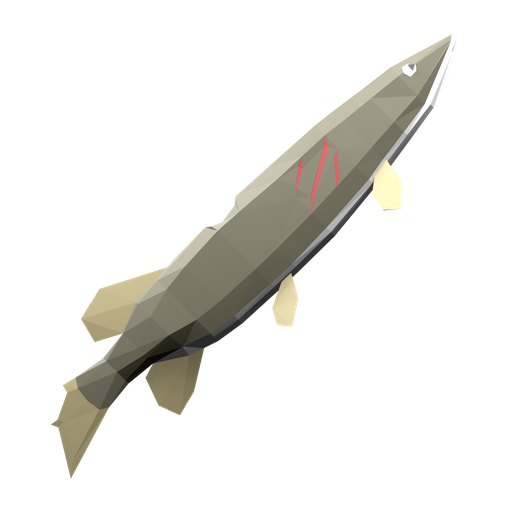
Sunfish is a rare miniboss selection here. Use Beginner Boss Lure when Sunfish is your target. The ordinary Pike row is not The Old Pike.
Standard Lure catch pool
| Catch | Weight | Selection share |
|---|---|---|
| Catfish | 12 | 17.39% |
| Bluegill | 10 | 14.49% |
| Yellow Boxfish | 8 | 11.59% |
| Angelfish | 8 | 11.59% |
| Needlefish | 8 | 11.59% |
| Sea Urchin | 10 | 14.49% |
| Clownfish | 6 | 8.7% |
| Seahorse | 3 | 4.35% |
| Bowlfish | 3 | 4.35% |
| Blue Shark | 1 | 1.45% |
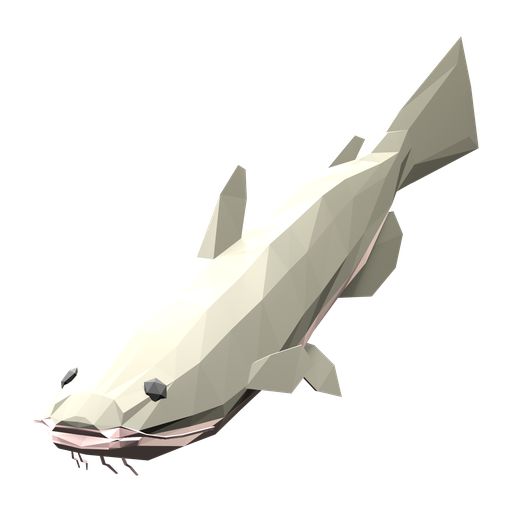
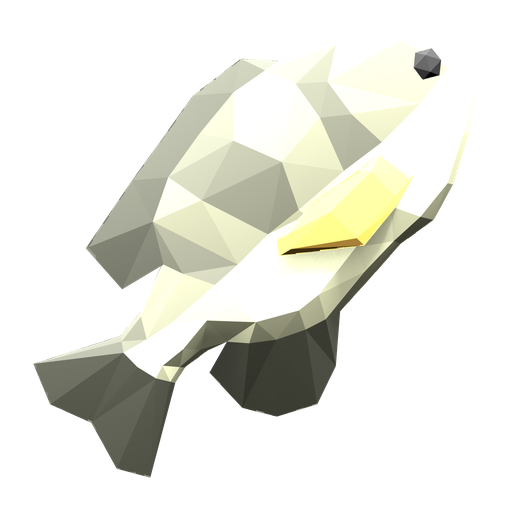
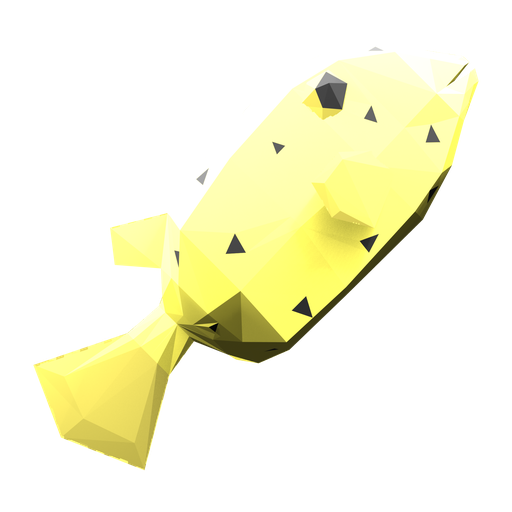
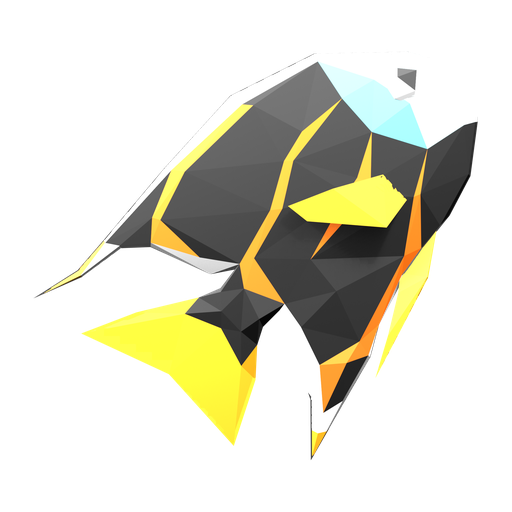
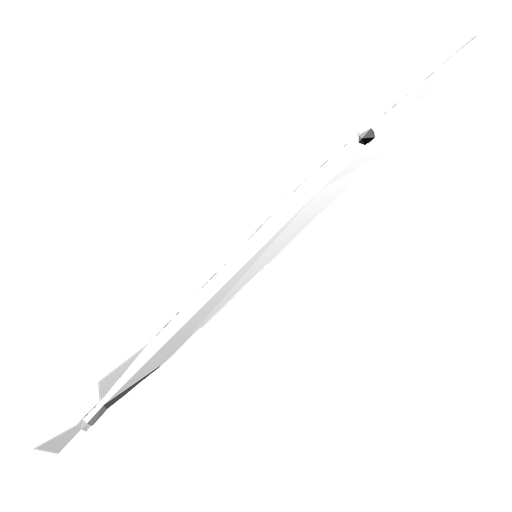
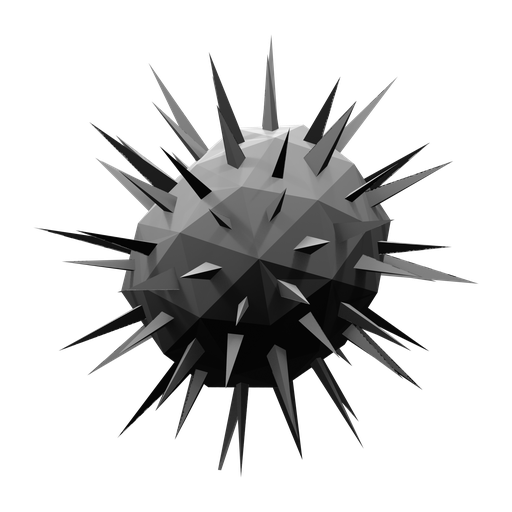
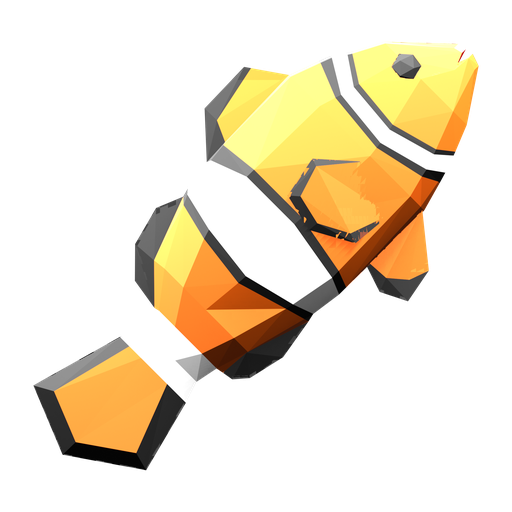
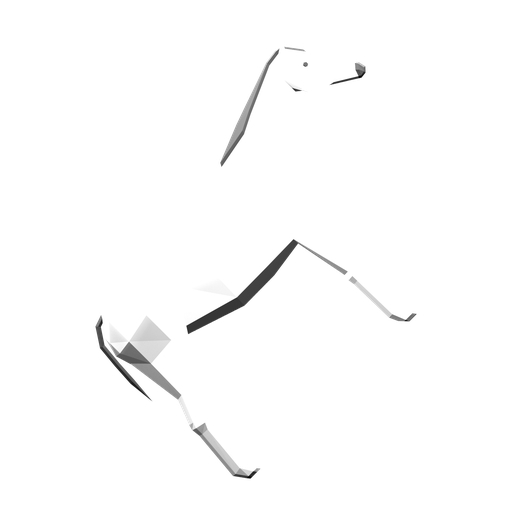
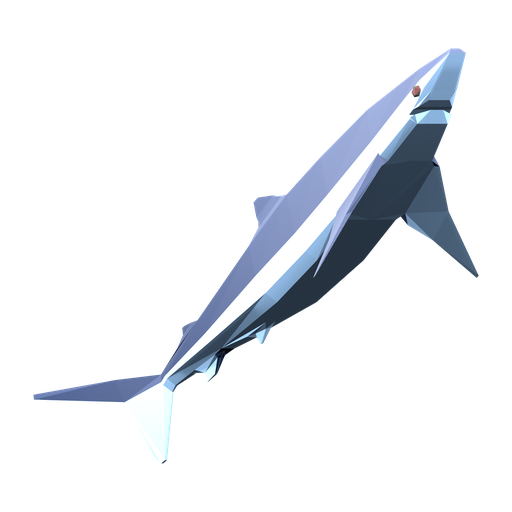
Standard Lure is the stronger targeting choice for Seahorse. Its 4.35% share is higher than Professional Lure's 1.28%, and the bait costs less. Blue Shark has a dedicated boss lure.
Professional Lure catch pool
| Catch | Weight | Selection share |
|---|---|---|
| Sengarat | 10 | 12.82% |
| Red Snapper | 10 | 12.82% |
| Tigerfish | 10 | 12.82% |
| Parrotfish | 10 | 12.82% |
| Bass | 10 | 12.82% |
| Halibut | 10 | 12.82% |
| Flying Fish | 5 | 6.41% |
| Eel | 5 | 6.41% |
| Voxelfish | 3 | 3.85% |
| Dripper | 3 | 3.85% |
| Tuna | 1 | 1.28% |
| Seahorse | 1 | 1.28% |
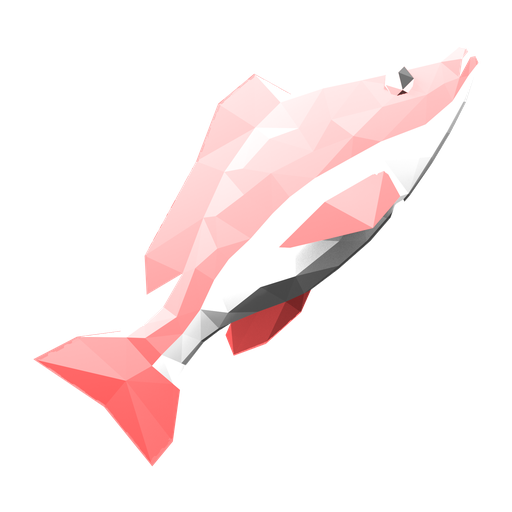
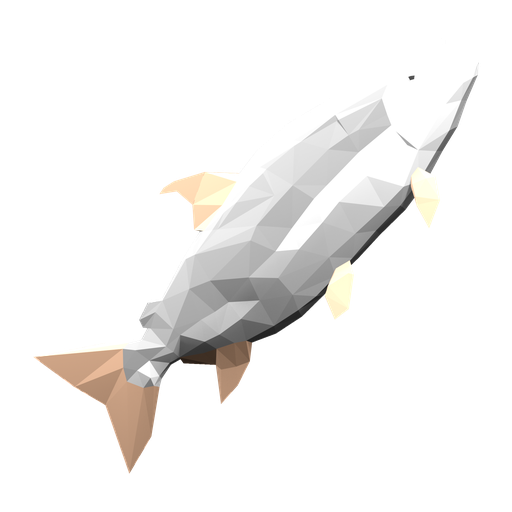
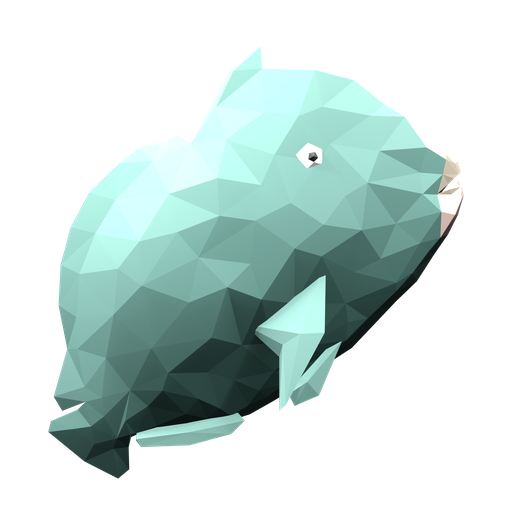
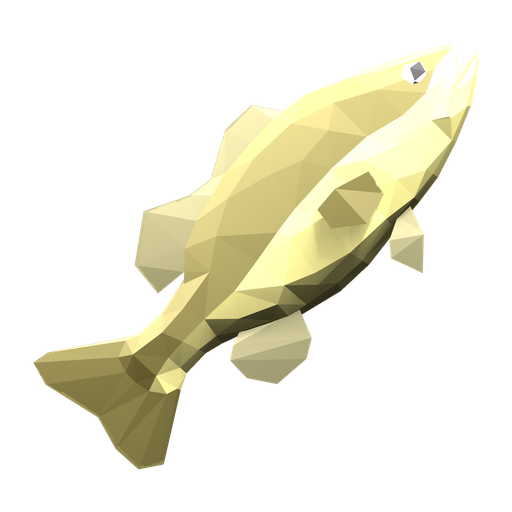
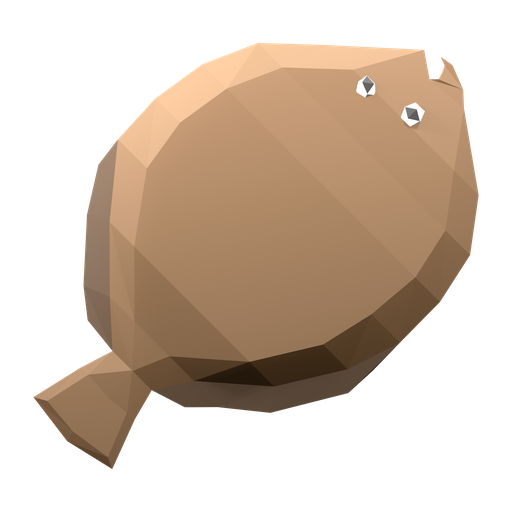
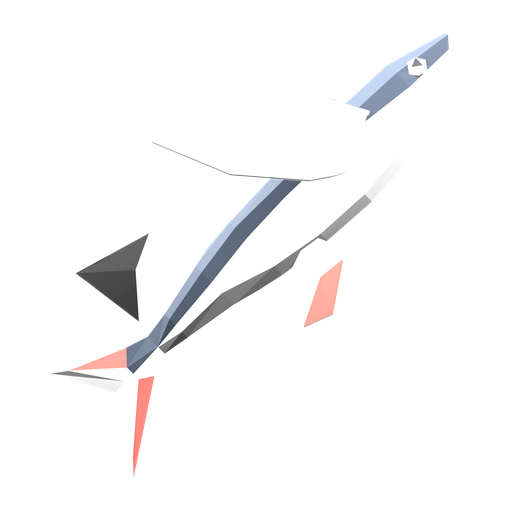
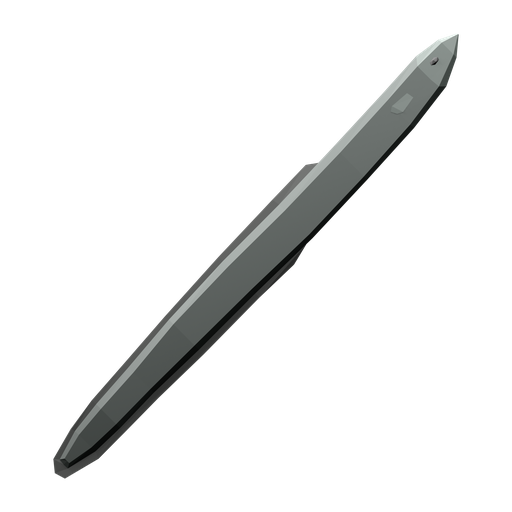
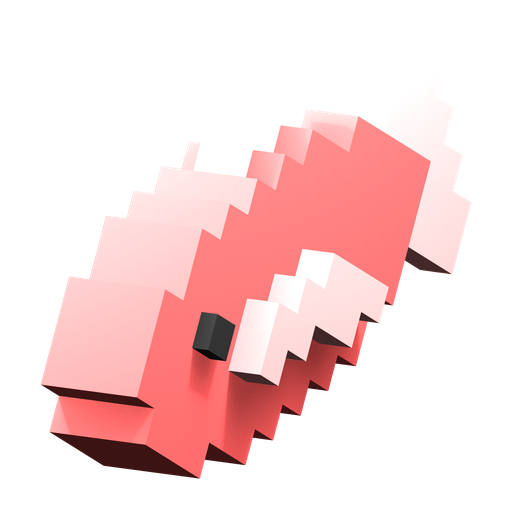
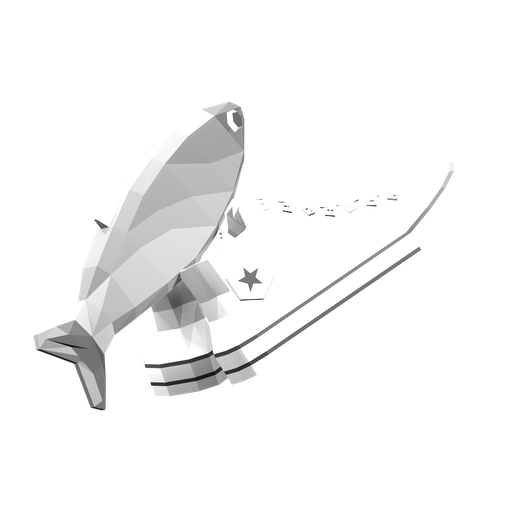
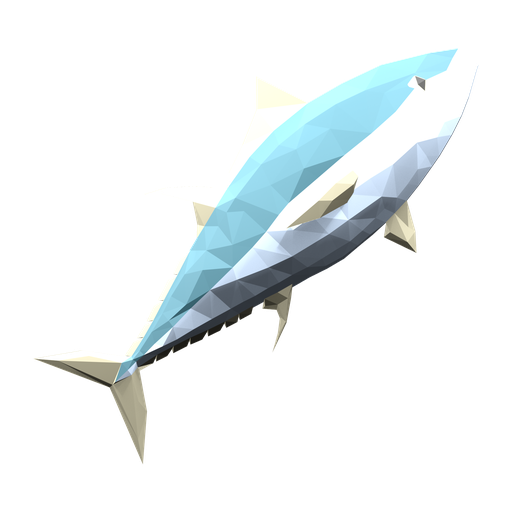
Dripper and Voxelfish each have three of 78 weight units. Tuna has a dedicated boss lure, while Seahorse is more likely with Standard Lure. A small share in this pool does not automatically make a creature hard to target elsewhere.
Scientific Lure catch pool
| Catch | Weight | Selection share |
|---|---|---|
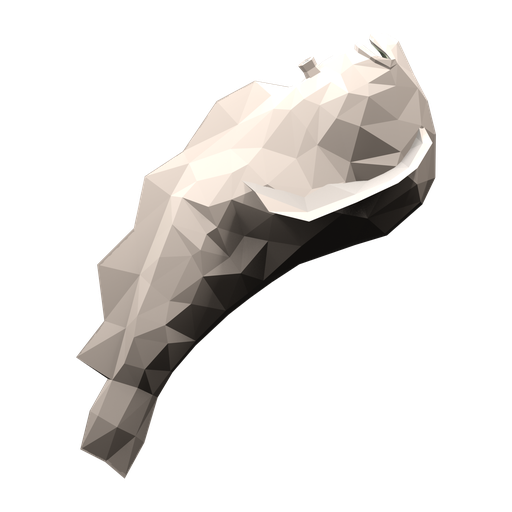
| Stonefish | 10 | 25% |
| Blobfish | 10 | 25% |
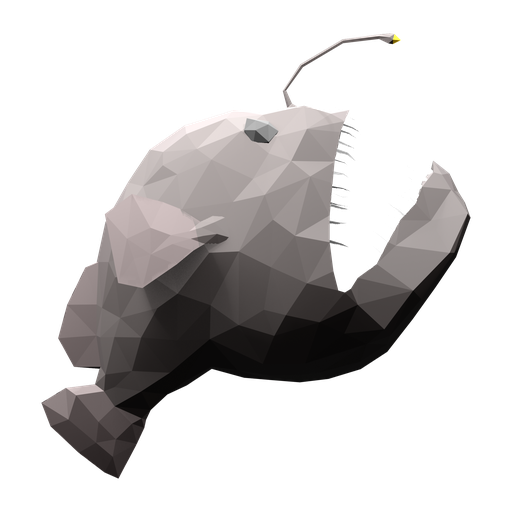
| Anglerfish | 10 | 25% |
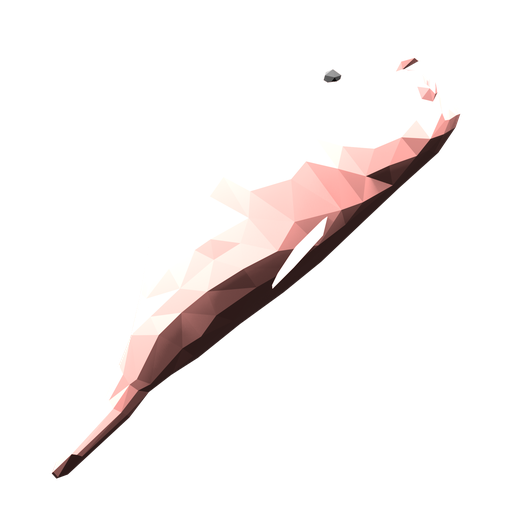
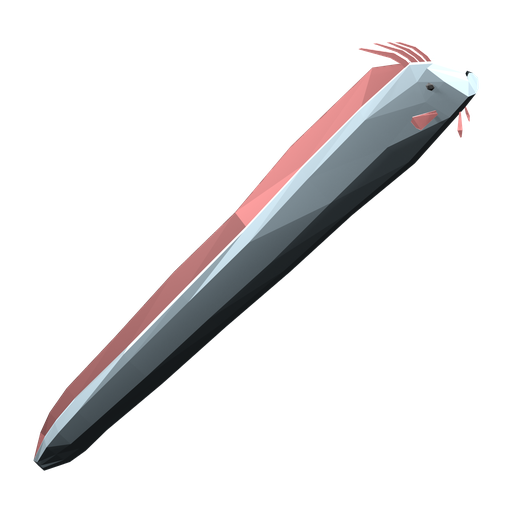
| Oarfish | 6 | 15% |
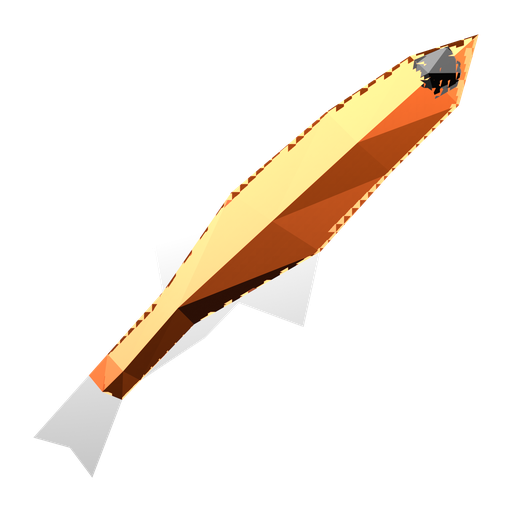
| Superdwarf Fish | 4 | 10% |
Boss and quest bait pools
The figures below apply when the relevant encounter is allowed to start. Having another boss active can block a boss lure. If an ordinary mixed pool selects a boss while another is active, the selector substitutes its default catch. These are not unrestricted promises for every cast.
| Bait | Eligible selection |
|---|---|
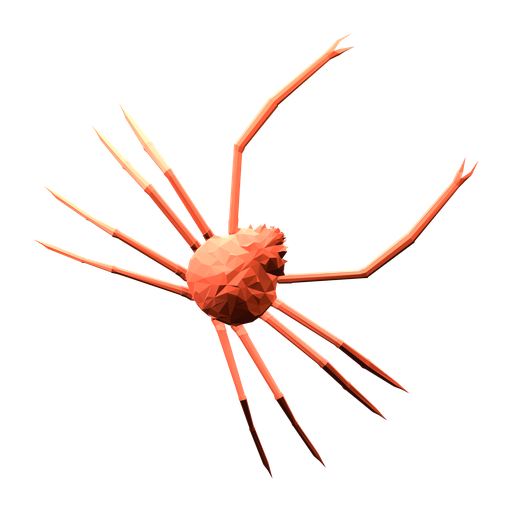
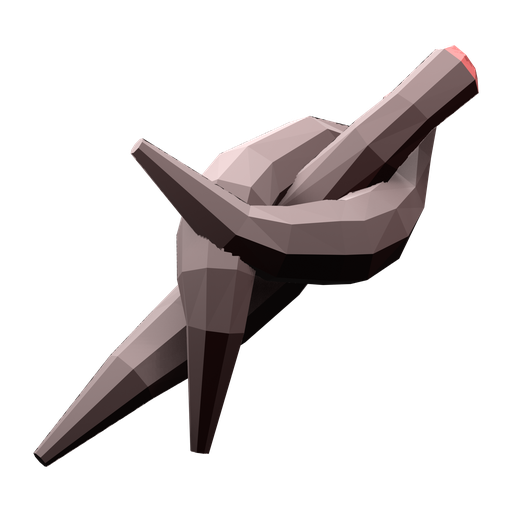
| Empty Beer Can | Spider Crab 100% |
| Beginner Boss Lure | Sunfish 50%, The Old Pike 50% |
| Leech Bait | Giant Piranha 100% |
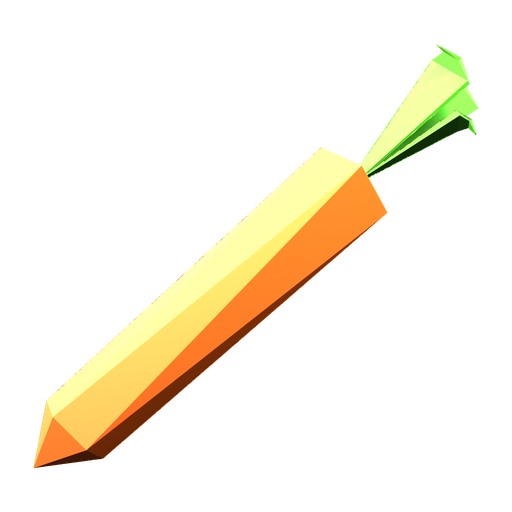
| Carrot | Pufferfish 100% |
| Coconut | Bing Bong 100% |
| Standard Boss Lure | Blue Shark 100% |
| Professional Boss Lure | Tuna 100% |
| Fish Bucket | Bowhead Whale 100% |
| Scientific Boss Lure | Goblin Shark 100% |
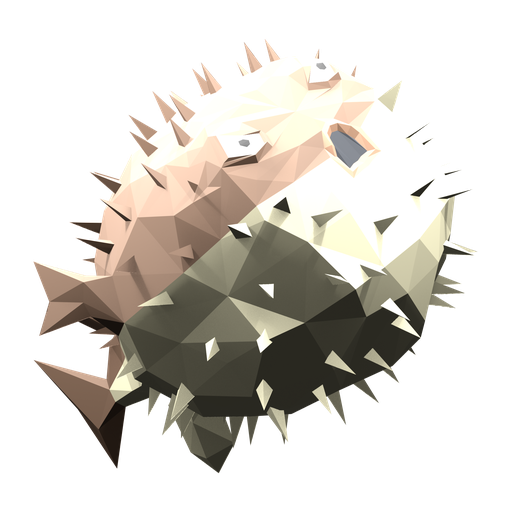
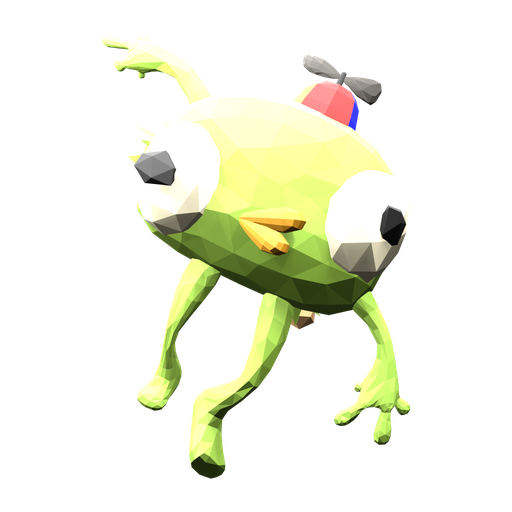
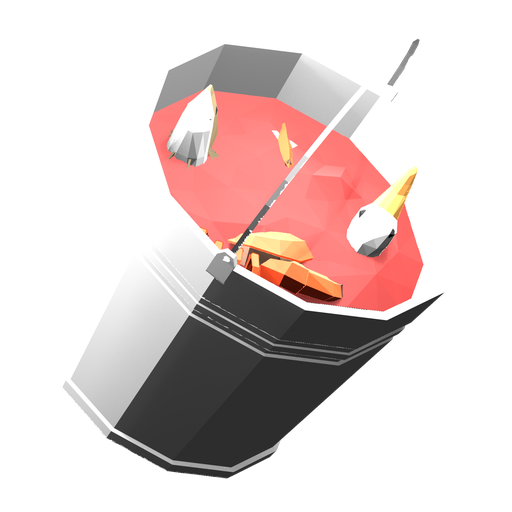
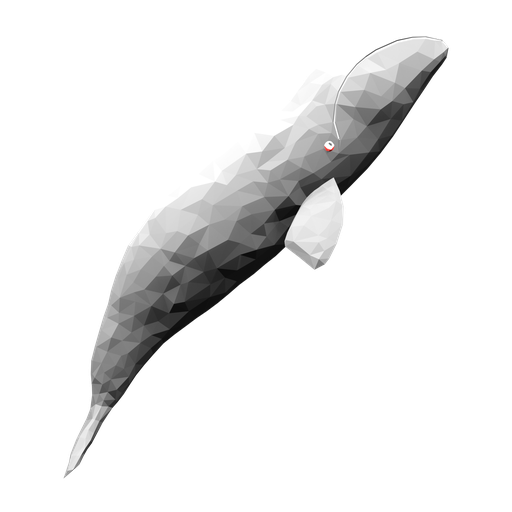
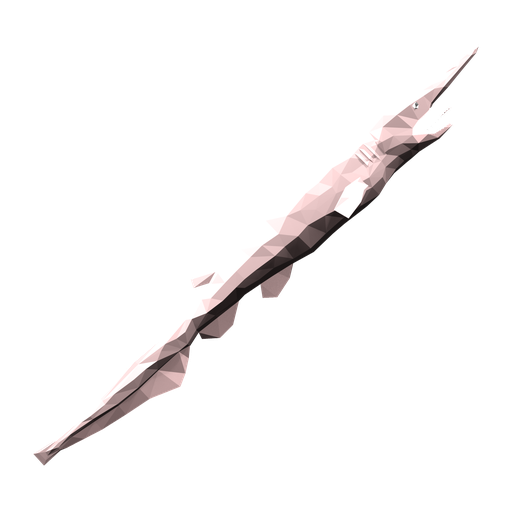
Albatross and Mutated Bowhead Whale use encounter triggers involving creature bodies. They are not additional entries in the ordinary lure tables. The boss-lure guide explains both transitions.
Bite delays and bait loss
A bite timer is eligible underwater time, not the duration of a complete cast. Most baits require the lure to move through the water for that timer to advance. Ham, Hot Dog and Empty Beer Can do not require that movement check. The hook must also be deep enough, have no attached item and satisfy the rod's equip delay.
| Bait | Configured bite delay | Movement required | Loss setting on use |
|---|---|---|---|
| Ham | 1 to 4 seconds | No | 0% |
| French Fry | 2 to 3 seconds | Yes | 0% |
| Hot Dog | 1 to 3 seconds | No | 40% |
| Beginner Lure | 1 to 3 seconds | Yes | 35% |
| Standard Lure | 1 to 2.5 seconds | Yes | 30% |
| Professional Lure | 1 to 2 seconds | Yes | 25% |
| Scientific Lure | 0.75 to 1.5 seconds | Yes | 20% |
| Empty Beer Can | 2 to 4 seconds | No | 100% |
| Beginner Boss Lure | 1 to 3 seconds | Yes | 100% |
| Leech Bait | 1 to 3 seconds | Yes | 100% |
| Carrot | 1 to 2.5 seconds | Yes | 100% |
| Coconut | 1 to 2.5 seconds | Yes | 100% |
| Standard Boss Lure | 1 to 2.5 seconds | Yes | 100% |
| Professional Boss Lure | 1 to 2 seconds | Yes | 100% |
| Fish Bucket | 2 to 3 seconds | Yes | 100% |
| Scientific Boss Lure | 0.75 to 1.5 seconds | Yes | 100% |
The server rolls bait consumption when an attached catch is released from the rod. It does not charge a bait merely because you cast into empty water. A 100% setting consumes the selected bait on that use; 0% defaults remain available. If the selected supply runs out, the inventory can switch to another available bait, so recheck the active bait when catches suddenly change.
The Nothing record has a one-to-three-second delay, a movement requirement and 0% loss, but ordinary empty-selection fishing uses the rod defaults described above.
Drip odds and journal progress
Ordinary rod-spawned creatures get a separate 10% Drip roll after species selection. Multiply the species share by 0.1 to calculate that particular Drip selection. For example, Dripper is 3/78 of Professional Lure selections, so a Drip Dripper is about 0.385% per eligible selection.
Bosses and minibosses automatically fill their Drip journal entries on death. Do not multiply their listed lure probabilities by 10%. The completion guide lists every journal target and the rarest ordinary targets to plan around.
All percentages here are derived from the game's source data. They are rounded displays of weighted selections, not measured catches per minute, guaranteed outcomes or a rule for every non-rod spawn.
Explore the encyclopedia
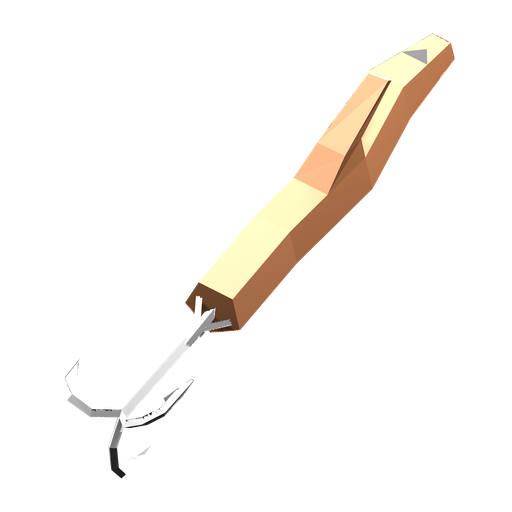 Beginner LureCatches beginner fish
Catalog version 1.0.12
 Standard LureCatches standard fish
Catalog version 1.0.12
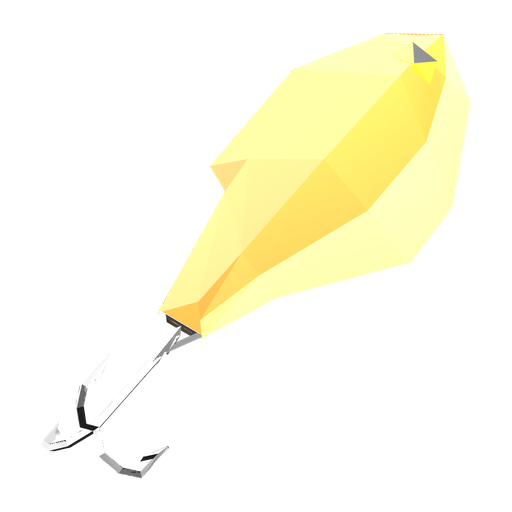 Professional LureCatches professional fish
Catalog version 1.0.12
 Scientific LureCatches scientific fish
Catalog version 1.0.12
 Ham
HamCatalog version 1.0.12
 French Fry
Catalog version 1.0.12
Related articles
- How to Fish Fishipedia and Collector checklist
Complete Collector and Fishipedia in How to Fish with all 49 journal targets, the best bait for each ordinary fish, and calculated odds for rare Drip catches.
- How to Fish Drip fish: rare catches and collection
Find Seahorse, Goby, Voxelfish and Dripper in How to Fish, choose their lures, and understand Drip rolls and the Collector and Fishipedia journal checks.
- How to Fish Bean achievement: under-one-hour route
Plan the five-island route for Bean in How to Fish, keep required hand-ins moving, budget useful purchases, and finish before the fresh world reaches an hour.