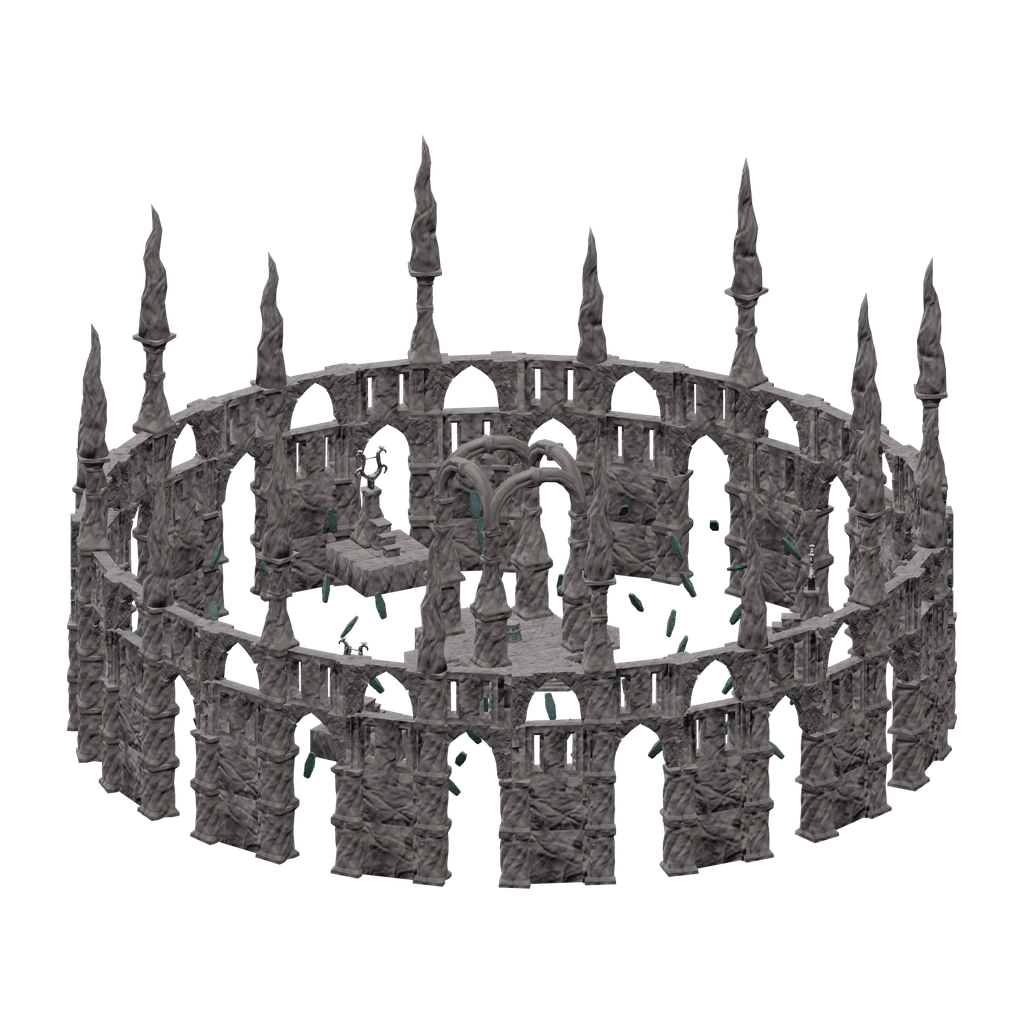
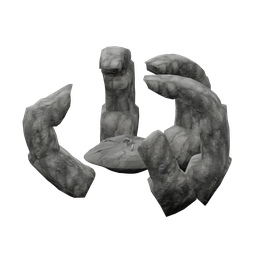
| Ashlands Ruins twist Arch Big (1) | Grausten | 1 | 1 | 1 | weighted table; 1–3 table draws; 100.0% table activation; with replacement; resource scaling applies | Location contents; initially inactive template |
| Ashlands Pillar4 tip3 broken3 | Grausten | 1 | 1 | 1 | weighted table; 2–3 table draws; 100.0% table activation; with replacement; resource scaling applies | Location contents; random hierarchy |
| Ashlands Ruins twist Pillar Base Small (1) | Grausten | 1 | 1 | 1 | weighted table; 1–2 table draws; 100.0% table activation; with replacement; resource scaling applies | Location contents |
| Ashlands Ruins twist Arch Big | Grausten | 1 | 1 | 1 | weighted table; 1–3 table draws; 100.0% table activation; with replacement; resource scaling applies | Location contents |
| Ashlands Ruins twist Arch Big | Grausten | 1 | 1 | 1 | weighted table; 1–3 table draws; 100.0% table activation; with replacement; resource scaling applies | Location contents; initially inactive template |
| Ashlands Ruins Ramp Upsidedown | Grausten | 1 | 1 | 1 | weighted table; 3–4 table draws; 100.0% table activation; with replacement; resource scaling applies | Location contents |
| Ashlands Pillar4 (9) | Grausten | 1 | 1 | 1 | weighted table; 2–3 table draws; 100.0% table activation; with replacement; resource scaling applies | Location contents |
| Ashlands Pillar4 tip3 broken2 | Grausten | 1 | 1 | 1 | weighted table; 2–3 table draws; 100.0% table activation; with replacement; resource scaling applies | Location contents; random hierarchy |
| Ashlands Pillar4 (3) | Grausten | 1 | 1 | 1 | weighted table; 2–3 table draws; 100.0% table activation; with replacement; resource scaling applies | Location contents; initially inactive template |
| Ashlands Pillar4 (8) | Grausten | 1 | 1 | 1 | weighted table; 2–3 table draws; 100.0% table activation; with replacement; resource scaling applies | Location contents |
| Ashlands Ruins twist Pillar Base | Grausten | 1 | 1 | 1 | weighted table; 2–3 table draws; 100.0% table activation; with replacement; resource scaling applies | Location contents; initially inactive template |
| Ashlands Ruins twist Pillar Base | Grausten | 1 | 1 | 1 | weighted table; 2–3 table draws; 100.0% table activation; with replacement; resource scaling applies | Location contents |
| Ashlands Pillar Base3 double (1) | Grausten | 1 | 1 | 1 | weighted table; 2–3 table draws; 100.0% table activation; with replacement; resource scaling applies | Location contents |
| Ashlands Pillar4 (3) | Grausten | 1 | 1 | 1 | weighted table; 2–3 table draws; 100.0% table activation; with replacement; resource scaling applies | Location contents |
| Ashlands Ruins twist Pillar Base Small | Grausten | 1 | 1 | 1 | weighted table; 1–2 table draws; 100.0% table activation; with replacement; resource scaling applies | Location contents |
| Ashlands Pillar4 (10) | Grausten | 1 | 1 | 1 | weighted table; 2–3 table draws; 100.0% table activation; with replacement; resource scaling applies | Location contents |
| Ashlands Ruins Ramp Upsidedown (1) | Grausten | 1 | 1 | 1 | weighted table; 3–4 table draws; 100.0% table activation; with replacement; resource scaling applies | Location contents |
| Ashlands Ruins twist Arch Big (1) | Grausten | 1 | 1 | 1 | weighted table; 1–3 table draws; 100.0% table activation; with replacement; resource scaling applies | Location contents |
| Ashlands Pillar4 (7) | Grausten | 1 | 1 | 1 | weighted table; 2–3 table draws; 100.0% table activation; with replacement; resource scaling applies | Location contents |
| Ashlands Pillar4 tip3 broken1 | Grausten | 1 | 1 | 1 | weighted table; 2–3 table draws; 100.0% table activation; with replacement; resource scaling applies | Location contents |
| Ashlands Ruins twist Pillar Base Small | Grausten | 1 | 1 | 1 | weighted table; 1–2 table draws; 100.0% table activation; with replacement; resource scaling applies | Location contents; initially inactive template |
| Ashlands Ruins twist Pillar Base (1) | Grausten | 1 | 1 | 1 | weighted table; 2–3 table draws; 100.0% table activation; with replacement; resource scaling applies | Location contents |
| Ashlands Pillar4 (11) | Grausten | 1 | 1 | 1 | weighted table; 2–3 table draws; 100.0% table activation; with replacement; resource scaling applies | Location contents |