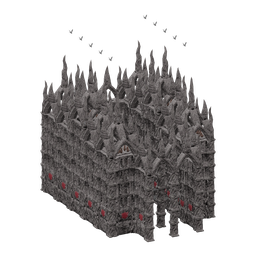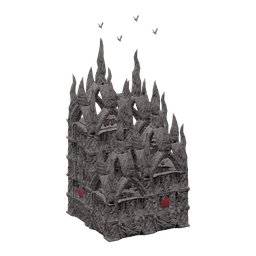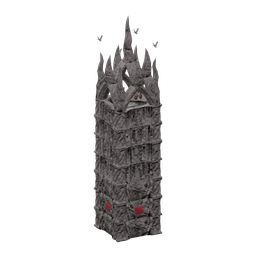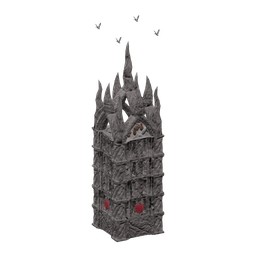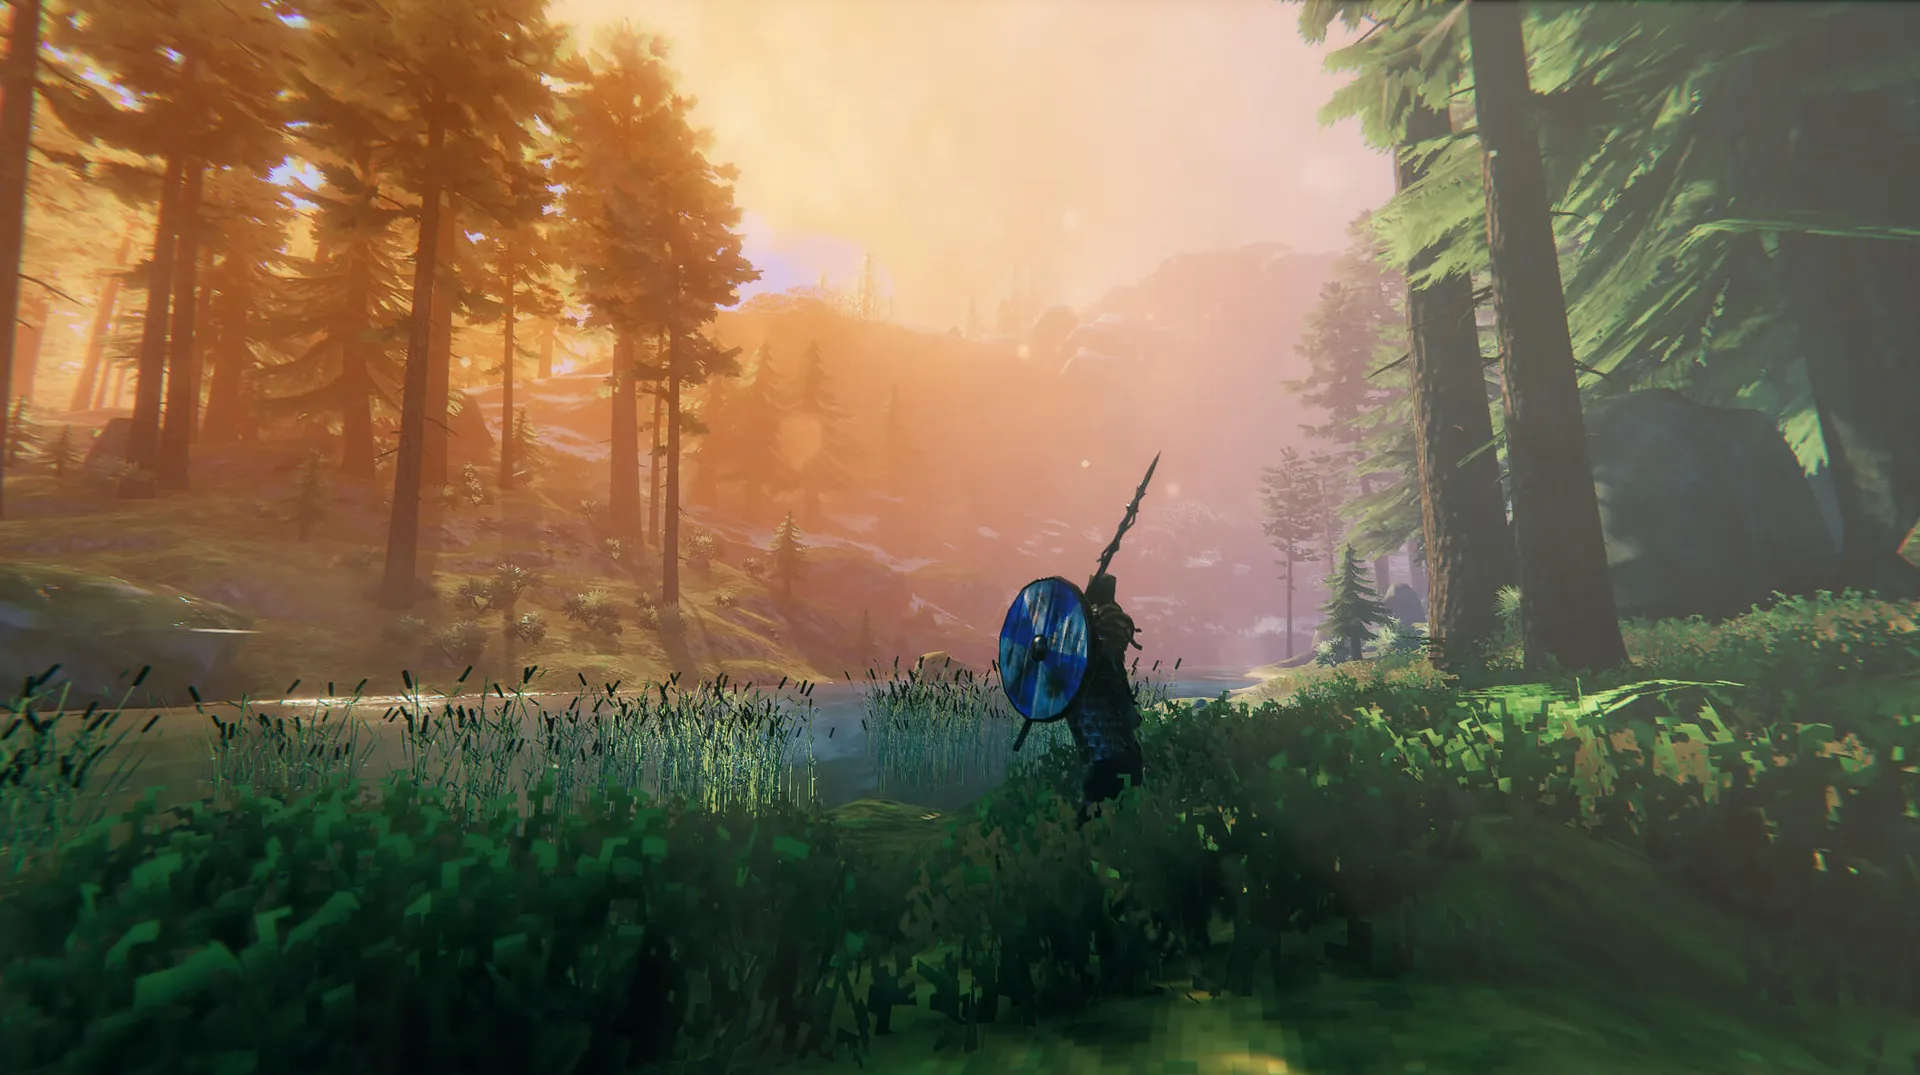
Charred Fortress
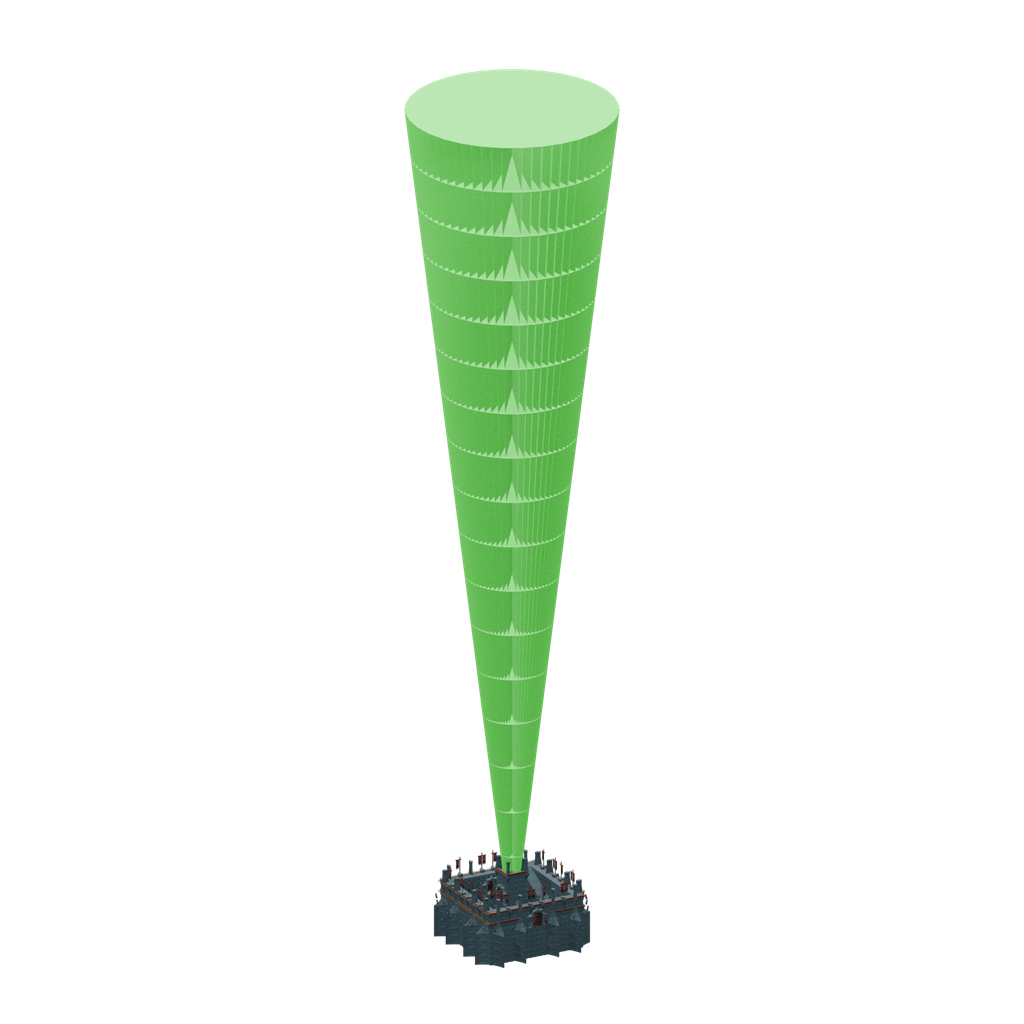
LocationsAuthored location requirements and possible contents. Layouts and contents depend on world generation and runtime conditions.
Ashlands
Possible loot
Rows 1–100 of 115Each source has its own table activation and draw count, separate from entry weights/chances. These are authored per-selection stack bounds, not total location yield. Container item-data rolls clamp stacks and use inclusive upper bounds; spawned-prefab rolls use exclusive upper bounds. Resource-rate passes and one-of-each selection follow the linked loot mechanics. Do not multiply unrelated room, activation and loot probabilities.
| Source | Item | Authored minimum | Authored maximum | Weight | Selection | Context |
|---|---|---|---|---|---|---|
| Ashlands Fortress Floor (7) | Stone | 1 | 1 | 1 | weighted table; 1–3 table draws; 100.0% table activation; with replacement; resource scaling applies | Location contents |
| Charred Banner2 (7) | Ashwood | 1 | 1 | 1 | weighted table; 2–2 table draws; 100.0% table activation; with replacement; resource scaling applies | Location contents; random hierarchy |
| Ashlands Fortress Wall Spikes (12) | Scrap Bronze | 1 | 1 | 1 | weighted table; 2–5 table draws; 100.0% table activation; with replacement; resource scaling applies | Location contents |
| Grave Stone Charred Twitcher Nest (12) | Grausten | 1 | 1 | 1 | weighted table; 1–1 table draws; 100.0% table activation; with replacement; resource scaling applies | Location contents; random hierarchy |
| Ashlands Fortress Wall Spikes (15) | Scrap Bronze | 1 | 1 | 1 | weighted table; 2–5 table draws; 100.0% table activation; with replacement; resource scaling applies | Location contents |
| Grave Stone Charred Twitcher Nest (9) | Grausten | 1 | 1 | 1 | weighted table; 1–1 table draws; 100.0% table activation; with replacement; resource scaling applies | Location contents; random hierarchy |
| Grave Stone Charred Twitcher Nest (13) | Grausten | 1 | 1 | 1 | weighted table; 1–1 table draws; 100.0% table activation; with replacement; resource scaling applies | Location contents; random hierarchy |
| Charred Banner1 | Ashwood | 1 | 1 | 1 | weighted table; 2–2 table draws; 100.0% table activation; with replacement; resource scaling applies | Location contents; random hierarchy |
| Grave Stone Broken Charred Twitcher Nest (6) | Grausten | 1 | 1 | 1 | weighted table; 1–1 table draws; 100.0% table activation; with replacement; resource scaling applies | Location contents; random hierarchy |
| Ashlands Fortress Wall Spikes (5) | Scrap Bronze | 1 | 1 | 1 | weighted table; 2–5 table draws; 100.0% table activation; with replacement; resource scaling applies | Location contents |
| Ashlands Fortress Wall Spikes (6) | Scrap Bronze | 1 | 1 | 1 | weighted table; 2–5 table draws; 100.0% table activation; with replacement; resource scaling applies | Location contents |
| Grave Stone Charred Twitcher Nest (5) | Grausten | 1 | 1 | 1 | weighted table; 1–1 table draws; 100.0% table activation; with replacement; resource scaling applies | Location contents; random hierarchy |
| Ashlands Fortress Wall Spikes (2) | Scrap Bronze | 1 | 1 | 1 | weighted table; 2–5 table draws; 100.0% table activation; with replacement; resource scaling applies | Location contents |
| Grave Stone Charred Twitcher Nest (11) | Grausten | 1 | 1 | 1 | weighted table; 1–1 table draws; 100.0% table activation; with replacement; resource scaling applies | Location contents; random hierarchy |
| Grave Stone Charred Twitcher Nest (08) | Grausten | 1 | 1 | 1 | weighted table; 1–1 table draws; 100.0% table activation; with replacement; resource scaling applies | Location contents; random hierarchy |
| Charred Banner2 (3) | Ashwood | 1 | 1 | 1 | weighted table; 2–2 table draws; 100.0% table activation; with replacement; resource scaling applies | Location contents; random hierarchy |
| Grave Stone Charred Twitcher Nest (7) | Grausten | 1 | 1 | 1 | weighted table; 1–1 table draws; 100.0% table activation; with replacement; resource scaling applies | Location contents; random hierarchy |
| Grave Stone Broken Charred Twitcher Nest (7) | Grausten | 1 | 1 | 1 | weighted table; 1–1 table draws; 100.0% table activation; with replacement; resource scaling applies | Location contents; random hierarchy |
| Charred Banner2 (6) | Ashwood | 1 | 1 | 1 | weighted table; 2–2 table draws; 100.0% table activation; with replacement; resource scaling applies | Location contents |
| Ashlands Fortress Wall Spikes (9) | Scrap Bronze | 1 | 1 | 1 | weighted table; 2–5 table draws; 100.0% table activation; with replacement; resource scaling applies | Location contents |
| Ashlands Fortress Floor | Stone | 1 | 1 | 1 | weighted table; 1–3 table draws; 100.0% table activation; with replacement; resource scaling applies | Location contents |
| Ashlands Fortress Wall Spikes (13) | Scrap Bronze | 1 | 1 | 1 | weighted table; 2–5 table draws; 100.0% table activation; with replacement; resource scaling applies | Location contents |
| Charred Chest | Iolite | 1 | 1 | 0.5 | weighted table; 5–6 table draws; 100.0% table activation; without replacement; resource scaling applies | Location contents |
| Charred Chest | Jade | 1 | 1 | 0.5 | weighted table; 5–6 table draws; 100.0% table activation; without replacement; resource scaling applies | Location contents |
| Charred Chest | Bloodstone | 1 | 1 | 0.5 | weighted table; 5–6 table draws; 100.0% table activation; without replacement; resource scaling applies | Location contents |
| Charred Chest | Coins | 200 | 500 | 1 | weighted table; 5–6 table draws; 100.0% table activation; without replacement; resource scaling applies | Location contents |
| Charred Chest | Charred Bone | 5 | 10 | 1 | weighted table; 5–6 table draws; 100.0% table activation; without replacement; resource scaling applies | Location contents |
| Charred Chest | Charred Skull | 1 | 2 | 1 | weighted table; 5–6 table draws; 100.0% table activation; without replacement; resource scaling applies | Location contents |
| Charred Chest | Celestial Feather | 1 | 1 | 0.1 | weighted table; 5–6 table draws; 100.0% table activation; without replacement; resource scaling applies | Location contents |
| Charred Chest | Molten Core | 1 | 2 | 0.5 | weighted table; 5–6 table draws; 100.0% table activation; without replacement; resource scaling applies | Location contents |
| Charred Chest | Flametal Ore | 10 | 20 | 1 | weighted table; 5–6 table draws; 100.0% table activation; without replacement; resource scaling applies | Location contents |
| Charred Chest | Black Marble Protection Idol | 1 | 1 | 0.2 | weighted table; 5–6 table draws; 100.0% table activation; without replacement; resource scaling applies | Location contents |
| Charred Chest | Black Marble Battle Idol | 1 | 1 | 0.1 | weighted table; 5–6 table draws; 100.0% table activation; without replacement; resource scaling applies | Location contents |
| Charred Chest | Flametal Protection Idol | 1 | 1 | 0.02 | weighted table; 5–6 table draws; 100.0% table activation; without replacement; resource scaling applies | Location contents |
| Charred Chest | Flametal Battle Idol | 1 | 1 | 0.02 | weighted table; 5–6 table draws; 100.0% table activation; without replacement; resource scaling applies | Location contents |
| Ashlands Fortress Wall Spikes (7) | Scrap Bronze | 1 | 1 | 1 | weighted table; 2–5 table draws; 100.0% table activation; with replacement; resource scaling applies | Location contents |
| Grave Stone Charred Twitcher Nest (09) | Grausten | 1 | 1 | 1 | weighted table; 1–1 table draws; 100.0% table activation; with replacement; resource scaling applies | Location contents; random hierarchy |
| Grave Stone Broken Charred Twitcher Nest (10) | Grausten | 1 | 1 | 1 | weighted table; 1–1 table draws; 100.0% table activation; with replacement; resource scaling applies | Location contents; random hierarchy |
| Grave Stone Broken Charred Twitcher Nest (3) | Grausten | 1 | 1 | 1 | weighted table; 1–1 table draws; 100.0% table activation; with replacement; resource scaling applies | Location contents; random hierarchy |
| Ashland Stair (4) | Stone | 1 | 1 | 1 | weighted table; 2–5 table draws; 100.0% table activation; with replacement; resource scaling applies | Location contents |
| Charred Banner2 (5) | Ashwood | 1 | 1 | 1 | weighted table; 2–2 table draws; 100.0% table activation; with replacement; resource scaling applies | Location contents |
| Grave Stone Broken Charred Twitcher Nest (09) | Grausten | 1 | 1 | 1 | weighted table; 1–1 table draws; 100.0% table activation; with replacement; resource scaling applies | Location contents; random hierarchy |
| Ashland Stair (6) | Stone | 1 | 1 | 1 | weighted table; 2–5 table draws; 100.0% table activation; with replacement; resource scaling applies | Location contents |
| Ashlands Fortress Wall Spikes (1) | Scrap Bronze | 1 | 1 | 1 | weighted table; 2–5 table draws; 100.0% table activation; with replacement; resource scaling applies | Location contents |
| Ashlands Fortress Wall Spikes (4) | Scrap Bronze | 1 | 1 | 1 | weighted table; 2–5 table draws; 100.0% table activation; with replacement; resource scaling applies | Location contents |
| Grave Stone Broken Charred Twitcher Nest (08) | Grausten | 1 | 1 | 1 | weighted table; 1–1 table draws; 100.0% table activation; with replacement; resource scaling applies | Location contents; random hierarchy |
| Charred Banner2 (6) | Ashwood | 1 | 1 | 1 | weighted table; 2–2 table draws; 100.0% table activation; with replacement; resource scaling applies | Location contents; random hierarchy |
| Grave Stone Charred Twitcher Nest (10) | Grausten | 1 | 1 | 1 | weighted table; 1–1 table draws; 100.0% table activation; with replacement; resource scaling applies | Location contents; random hierarchy |
| Grave Stone Charred Twitcher Nest (16) | Grausten | 1 | 1 | 1 | weighted table; 1–1 table draws; 100.0% table activation; with replacement; resource scaling applies | Location contents; random hierarchy |
| Ashlands Fortress Floor (9) | Stone | 1 | 1 | 1 | weighted table; 1–3 table draws; 100.0% table activation; with replacement; resource scaling applies | Location contents |
| Ashlands Fortress Wall Spikes (10) | Scrap Bronze | 1 | 1 | 1 | weighted table; 2–5 table draws; 100.0% table activation; with replacement; resource scaling applies | Location contents |
| Grave Stone Charred Twitcher Nest (3) | Grausten | 1 | 1 | 1 | weighted table; 1–1 table draws; 100.0% table activation; with replacement; resource scaling applies | Location contents; random hierarchy |
| Grave Stone Broken Charred Twitcher Nest (5) | Grausten | 1 | 1 | 1 | weighted table; 1–1 table draws; 100.0% table activation; with replacement; resource scaling applies | Location contents; random hierarchy |
| Grave Stone Charred Twitcher Nest (14) | Grausten | 1 | 1 | 1 | weighted table; 1–1 table draws; 100.0% table activation; with replacement; resource scaling applies | Location contents; random hierarchy |
| Charred Chest | Iolite | 1 | 1 | 0.5 | weighted table; 5–6 table draws; 100.0% table activation; without replacement; resource scaling applies | Location contents; random hierarchy |
| Charred Chest | Jade | 1 | 1 | 0.5 | weighted table; 5–6 table draws; 100.0% table activation; without replacement; resource scaling applies | Location contents; random hierarchy |
| Charred Chest | Bloodstone | 1 | 1 | 0.5 | weighted table; 5–6 table draws; 100.0% table activation; without replacement; resource scaling applies | Location contents; random hierarchy |
| Charred Chest | Coins | 200 | 500 | 1 | weighted table; 5–6 table draws; 100.0% table activation; without replacement; resource scaling applies | Location contents; random hierarchy |
| Charred Chest | Charred Bone | 5 | 10 | 1 | weighted table; 5–6 table draws; 100.0% table activation; without replacement; resource scaling applies | Location contents; random hierarchy |
| Charred Chest | Charred Skull | 1 | 2 | 1 | weighted table; 5–6 table draws; 100.0% table activation; without replacement; resource scaling applies | Location contents; random hierarchy |
| Charred Chest | Celestial Feather | 1 | 1 | 0.1 | weighted table; 5–6 table draws; 100.0% table activation; without replacement; resource scaling applies | Location contents; random hierarchy |
| Charred Chest | Molten Core | 1 | 2 | 0.5 | weighted table; 5–6 table draws; 100.0% table activation; without replacement; resource scaling applies | Location contents; random hierarchy |
| Charred Chest | Flametal Ore | 10 | 20 | 1 | weighted table; 5–6 table draws; 100.0% table activation; without replacement; resource scaling applies | Location contents; random hierarchy |
| Charred Chest | Black Marble Protection Idol | 1 | 1 | 0.2 | weighted table; 5–6 table draws; 100.0% table activation; without replacement; resource scaling applies | Location contents; random hierarchy |
| Charred Chest | Black Marble Battle Idol | 1 | 1 | 0.1 | weighted table; 5–6 table draws; 100.0% table activation; without replacement; resource scaling applies | Location contents; random hierarchy |
| Charred Chest | Flametal Protection Idol | 1 | 1 | 0.02 | weighted table; 5–6 table draws; 100.0% table activation; without replacement; resource scaling applies | Location contents; random hierarchy |
| Charred Chest | Flametal Battle Idol | 1 | 1 | 0.02 | weighted table; 5–6 table draws; 100.0% table activation; without replacement; resource scaling applies | Location contents; random hierarchy |
| Grave Stone Broken Charred Twitcher Nest (4) | Grausten | 1 | 1 | 1 | weighted table; 1–1 table draws; 100.0% table activation; with replacement; resource scaling applies | Location contents; random hierarchy |
| Ashlands Fortress Floor (10) | Stone | 1 | 1 | 1 | weighted table; 1–3 table draws; 100.0% table activation; with replacement; resource scaling applies | Location contents |
| Ashlands Fortress Wall Spikes (8) | Scrap Bronze | 1 | 1 | 1 | weighted table; 2–5 table draws; 100.0% table activation; with replacement; resource scaling applies | Location contents |
| Grave Stone Charred Twitcher Nest (15) | Grausten | 1 | 1 | 1 | weighted table; 1–1 table draws; 100.0% table activation; with replacement; resource scaling applies | Location contents; random hierarchy |
| Grave Stone Charred Twitcher Nest (8) | Grausten | 1 | 1 | 1 | weighted table; 1–1 table draws; 100.0% table activation; with replacement; resource scaling applies | Location contents; random hierarchy |
| Charred Banner2 (5) | Ashwood | 1 | 1 | 1 | weighted table; 2–2 table draws; 100.0% table activation; with replacement; resource scaling applies | Location contents; random hierarchy |
| Ashlands Fortress Wall Spikes (11) | Scrap Bronze | 1 | 1 | 1 | weighted table; 2–5 table draws; 100.0% table activation; with replacement; resource scaling applies | Location contents |
| Ashlands Fortress Floor (8) | Stone | 1 | 1 | 1 | weighted table; 1–3 table draws; 100.0% table activation; with replacement; resource scaling applies | Location contents |
| Grave Stone Charred Twitcher Nest (2) | Grausten | 1 | 1 | 1 | weighted table; 1–1 table draws; 100.0% table activation; with replacement; resource scaling applies | Location contents; random hierarchy |
| Charred Banner1 (5) | Ashwood | 1 | 1 | 1 | weighted table; 2–2 table draws; 100.0% table activation; with replacement; resource scaling applies | Location contents; random hierarchy |
| Grave Stone Charred Twitcher Nest (6) | Grausten | 1 | 1 | 1 | weighted table; 1–1 table draws; 100.0% table activation; with replacement; resource scaling applies | Location contents; random hierarchy |
| Ashlands Fortress Floor (12) | Stone | 1 | 1 | 1 | weighted table; 1–3 table draws; 100.0% table activation; with replacement; resource scaling applies | Location contents |
| Grave Stone Broken Charred Twitcher Nest (2) | Grausten | 1 | 1 | 1 | weighted table; 1–1 table draws; 100.0% table activation; with replacement; resource scaling applies | Location contents; random hierarchy |
| Ashlands Fortress Wall Spikes | Scrap Bronze | 1 | 1 | 1 | weighted table; 2–5 table draws; 100.0% table activation; with replacement; resource scaling applies | Location contents |
| Grave Stone Charred Twitcher Nest (4) | Grausten | 1 | 1 | 1 | weighted table; 1–1 table draws; 100.0% table activation; with replacement; resource scaling applies | Location contents; random hierarchy |
| Ashland Stair (5) | Stone | 1 | 1 | 1 | weighted table; 2–5 table draws; 100.0% table activation; with replacement; resource scaling applies | Location contents |
| Ashlands Fortress Floor (15) | Stone | 1 | 1 | 1 | weighted table; 1–3 table draws; 100.0% table activation; with replacement; resource scaling applies | Location contents |
| Charred Banner2 (3) | Ashwood | 1 | 1 | 1 | weighted table; 2–2 table draws; 100.0% table activation; with replacement; resource scaling applies | Location contents |
| Ashlands Fortress Wall Spikes (14) | Scrap Bronze | 1 | 1 | 1 | weighted table; 2–5 table draws; 100.0% table activation; with replacement; resource scaling applies | Location contents |
| Charred Banner2 (4) | Ashwood | 1 | 1 | 1 | weighted table; 2–2 table draws; 100.0% table activation; with replacement; resource scaling applies | Location contents |
| Ashlands Fortress Wall Spikes (17) | Scrap Bronze | 1 | 1 | 1 | weighted table; 2–5 table draws; 100.0% table activation; with replacement; resource scaling applies | Location contents |
| Grave Stone Broken Charred Twitcher Nest (07) | Grausten | 1 | 1 | 1 | weighted table; 1–1 table draws; 100.0% table activation; with replacement; resource scaling applies | Location contents; random hierarchy |
| Charred Banner2 (4) | Ashwood | 1 | 1 | 1 | weighted table; 2–2 table draws; 100.0% table activation; with replacement; resource scaling applies | Location contents; random hierarchy |
| Charred Banner1 (2) | Ashwood | 1 | 1 | 1 | weighted table; 2–2 table draws; 100.0% table activation; with replacement; resource scaling applies | Location contents; random hierarchy |
| Grave Stone Broken Charred Twitcher Nest (9) | Grausten | 1 | 1 | 1 | weighted table; 1–1 table draws; 100.0% table activation; with replacement; resource scaling applies | Location contents; random hierarchy |
| Charred Banner1 (7) | Ashwood | 1 | 1 | 1 | weighted table; 2–2 table draws; 100.0% table activation; with replacement; resource scaling applies | Location contents; random hierarchy |
| Grave Stone Broken Charred Twitcher Nest (8) | Grausten | 1 | 1 | 1 | weighted table; 1–1 table draws; 100.0% table activation; with replacement; resource scaling applies | Location contents; random hierarchy |
| Charred Banner2 (1) | Ashwood | 1 | 1 | 1 | weighted table; 2–2 table draws; 100.0% table activation; with replacement; resource scaling applies | Location contents; random hierarchy |
| Ashland Stair (7) | Stone | 1 | 1 | 1 | weighted table; 2–5 table draws; 100.0% table activation; with replacement; resource scaling applies | Location contents |
| Charred Banner1 (1) | Ashwood | 1 | 1 | 1 | weighted table; 2–2 table draws; 100.0% table activation; with replacement; resource scaling applies | Location contents; random hierarchy |
| Charred Banner2 (2) | Ashwood | 1 | 1 | 1 | weighted table; 2–2 table draws; 100.0% table activation; with replacement; resource scaling applies | Location contents; random hierarchy |
| Charred altar bellfragment | Bell Fragment | 1 | 1 | 1 | weighted table; 2–4 table draws; 100.0% table activation; with replacement; resource scaling applies | Location contents |
| Ashlands Fortress Floor (4) | Stone | 1 | 1 | 1 | weighted table; 1–3 table draws; 100.0% table activation; with replacement; resource scaling applies | Location contents |
Gathering

Mining resources
36 entries StoneAshlands Fortress Wall Pillar base (13)
- StoneAshlands Fortress Wall Pillar base (1)
- StoneAshlands Fortress Wall Pillar base (7)
- StoneAshlands Fortress Wall Pillar (1)
- StoneAshlands Fortress Wall Pillar Top Stone
- StoneAshlands Fortress Wall Pillar Top Stone (4)
- StoneAshlands Fortress Wall Pillar base (4)
- StoneAshlands Fortress Wall Pillar (3)
- StoneAshlands Fortress Wall Pillar base (9)
- StoneAshlands Fortress Wall Pillar
- StoneAshlands Fortress Wall Pillar base
- StoneAshlands Fortress Wall Pillar base (8)
- StoneAshlands Fortress Wall Pillar base (10)
- StoneAshlands Fortress Wall Pillar Top (1)
- StoneAshlands Fortress Wall Pillar Top Stone (1)
- StoneAshlands Fortress Wall Pillar base (5)
- StoneAshlands Fortress Wall Pillar Top
- StoneAshlands Fortress Wall Pillar base (3)
- StoneAshlands Fortress Wall Pillar base (15)
- StoneAshlands Fortress Wall Pillar base (6)
- StoneAshlands Fortress Wall Pillar Top Stone (5)
- StoneAshlands Fortress Wall Pillar base (2)
- StoneAshlands Fortress Wall Pillar base (14)
- StoneAshlands Fortress Wall Pillar (2)
- StoneAshlands Fortress Wall Pillar base (11)
- StoneAshlands Fortress Wall Pillar Top (2)
- StoneAshlands Fortress Wall Pillar Top (3)
- StoneAshlands Fortress Wall Pillar base (12)
- StoneAshlands Fortress Wall Pillar base (17)
- StoneAshlands Fortress Wall Pillar base (19)
- StoneAshlands Fortress Wall Pillar base (16)
- StoneAshlands Fortress Wall Pillar base (20)
- StoneAshlands Fortress Wall Pillar base (18)
- StoneAshlands Fortress Wall Pillar base (21)
- StoneAshlands Fortress Wall Pillar Top Stone (7)
- StoneAshlands Fortress Wall Pillar Top Stone (6)
Practical guidance
EditorialPlacement parameters describe world-generation eligibility. They are not map coordinates or guaranteed location counts. Listed rooms and loot are conditional candidates.