
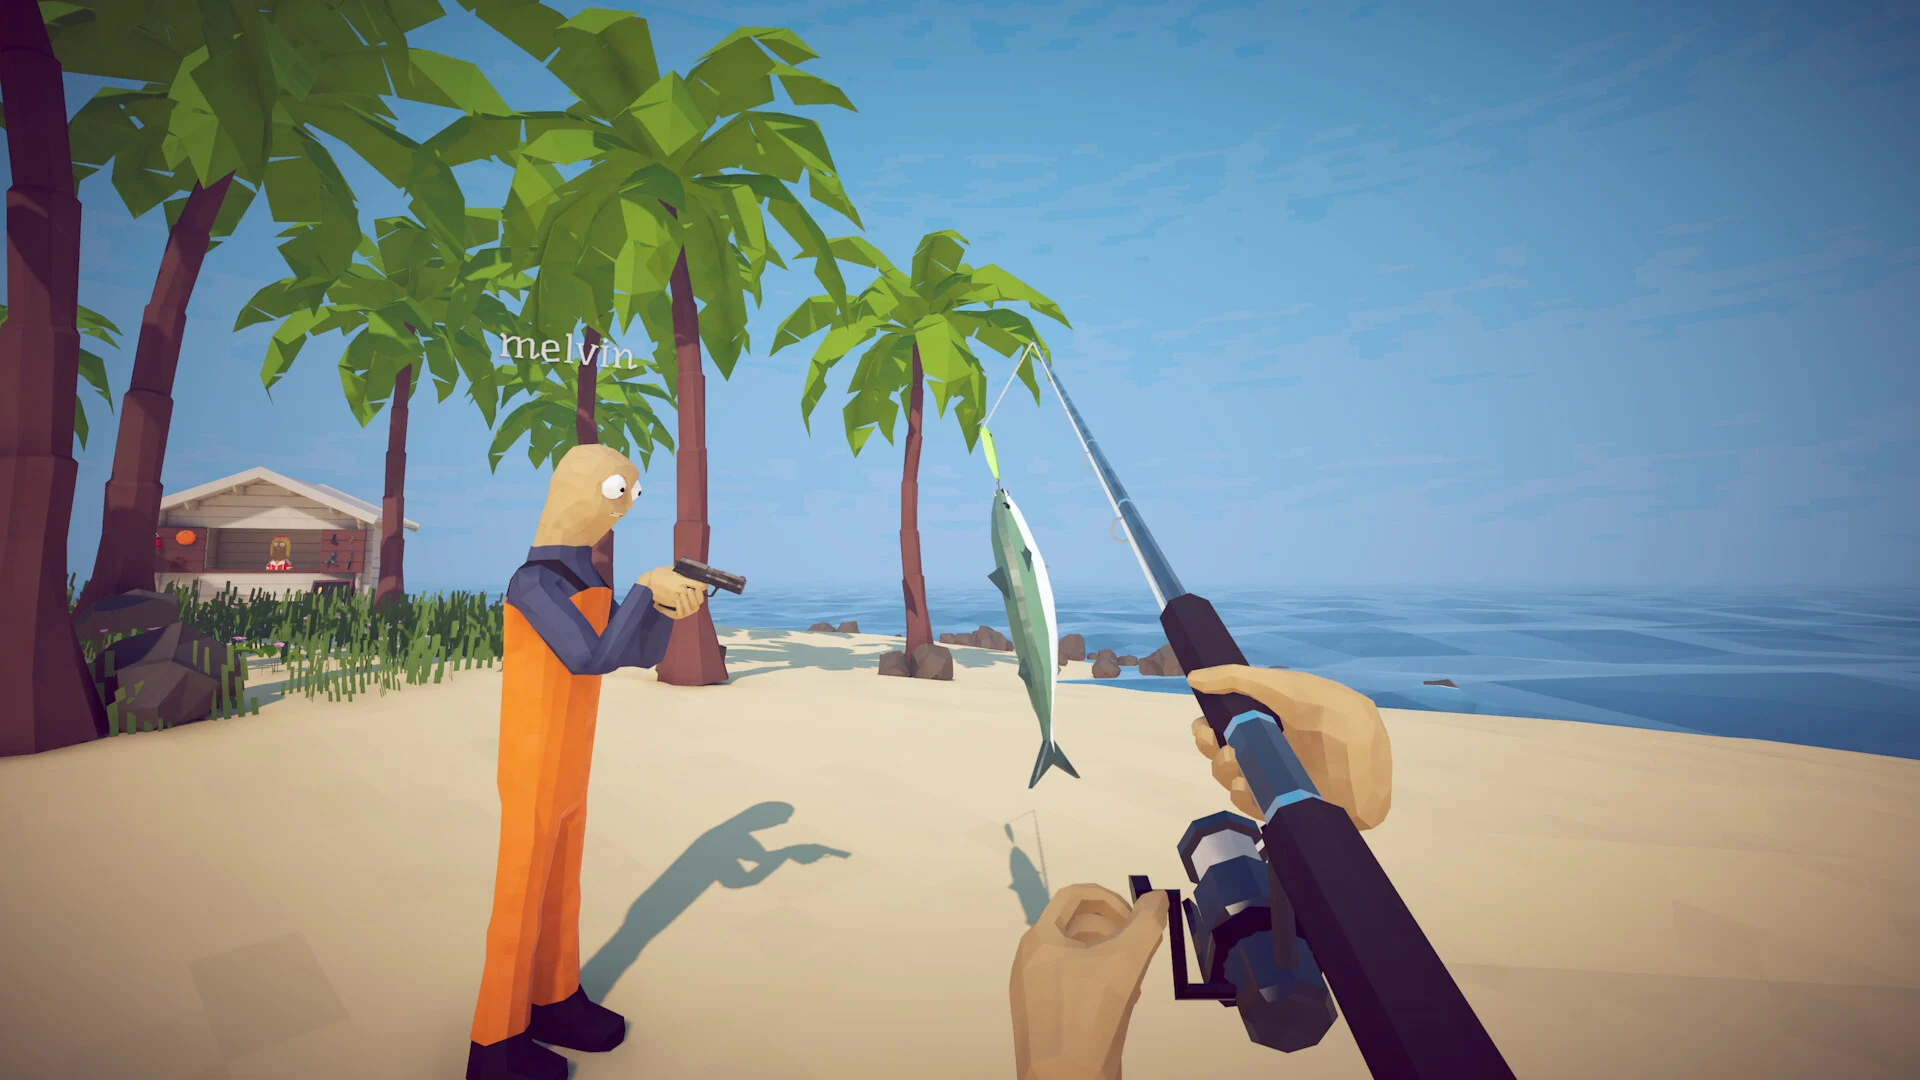
How to Fish · Guides
How to Fish dynamite: boss damage and Easy guide
Dazed Games
Dynamite damages creatures with its base explosion damage plus a share of the target's maximum health. Nearby sticks can trigger each other, which is why a prepared pile can deliver several blasts close together. Placement, invulnerability and timing still decide whether those blasts help.
It is sold for $25 on Islands 2 through 5. There is no active dynamite shop on Island 1, so an ordinary first Spider Crab encounter should not depend on buying it there.
What a blast actually does
The 1.0.12 source sets Dynamite's base damage to 200. The creature-damage calculation adds 5% of the target's difficulty-adjusted base maximum HP, rounded down. The examples below use solo Default health and assume a registered hit on a living, damageable target.
| Creature | Maximum HP in this example | Damage per registered blast |
|---|---|---|
| Spider Crab | 750 | 237 |
| Giant Piranha | 2,500 | 325 |
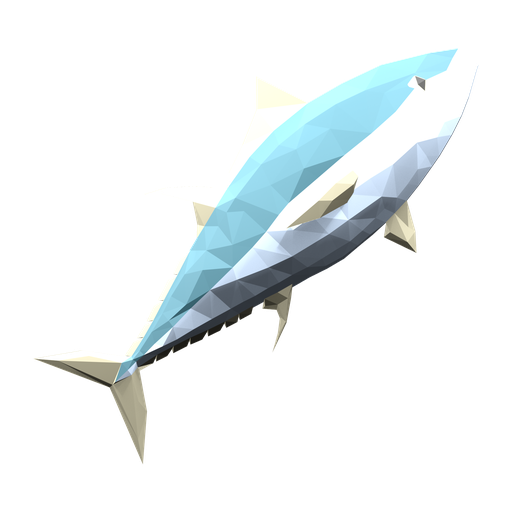
| Tuna | 5,000 | 450 |
| Goblin Shark | 7,500 | 575 |
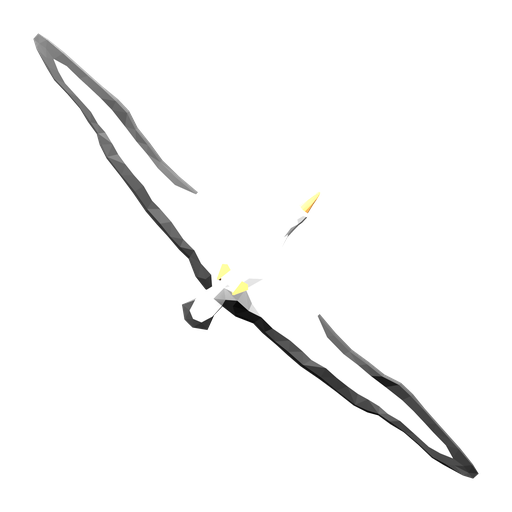
| Albatross | 7,800 | 590 |
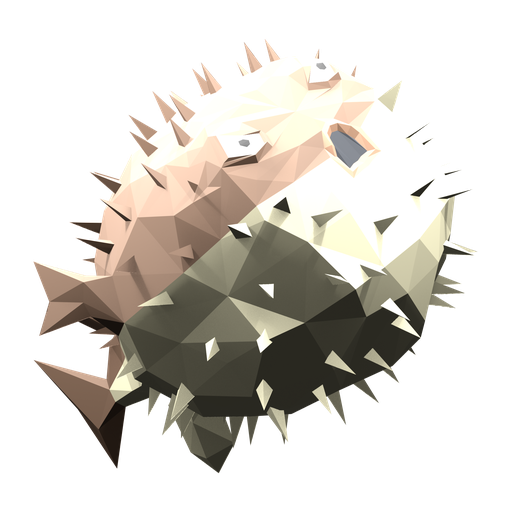
| Pufferfish | 18,000 | 1,100 |
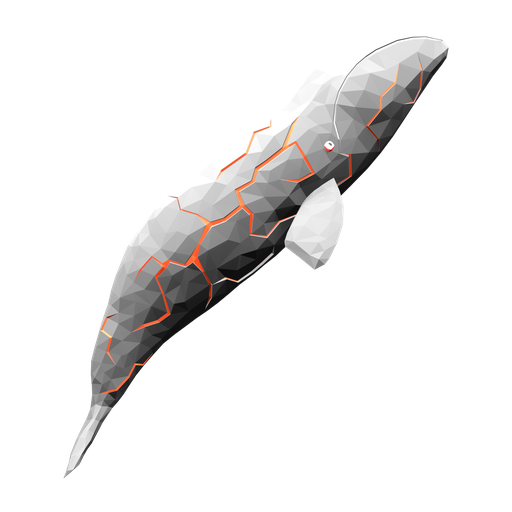
| Mutated Bowhead Whale | 38,000 | 2,100 |
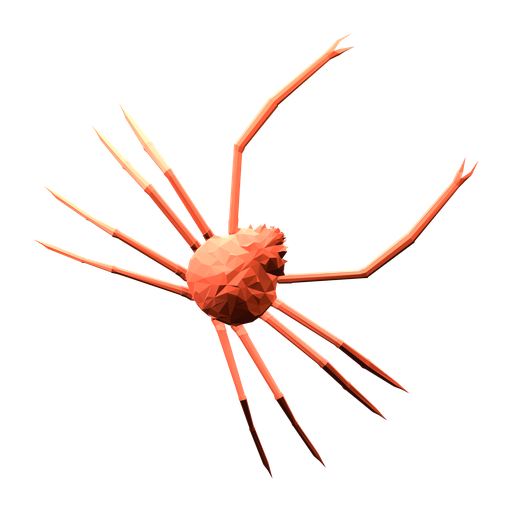
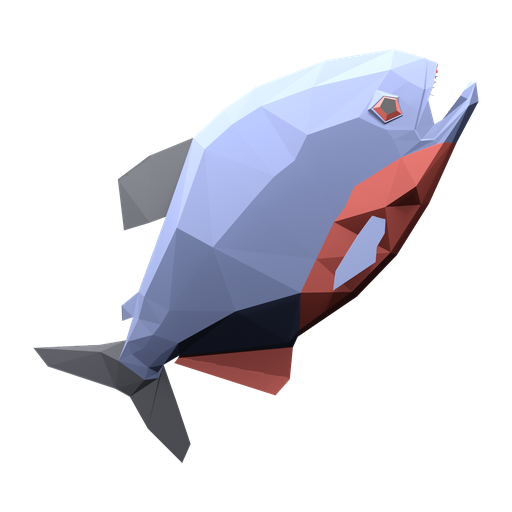
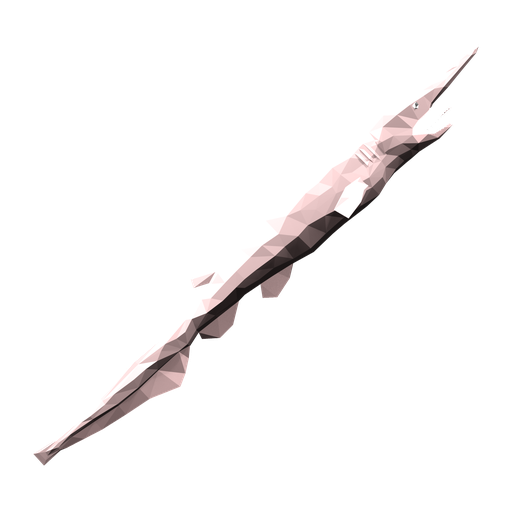
These are calculated damage values, not measured kills or a shopping list. Difficulty changes the base maximum used by this damage bonus. Extra players raise the boss encounter's health separately; that party increase does not raise the 5% damage bonus. A boss can move out of the blast area, and a phase transition can reject damage. Dividing health by the table's damage will not prove that a stack kills the boss in a fixed time.
The normal damage radius is 4.5 game units and the force search extends to five. The whale handling has an additional large-body exception inside the explosion's overlap processing. Do not translate those internal radii into a precise safe spot based on an image alone.
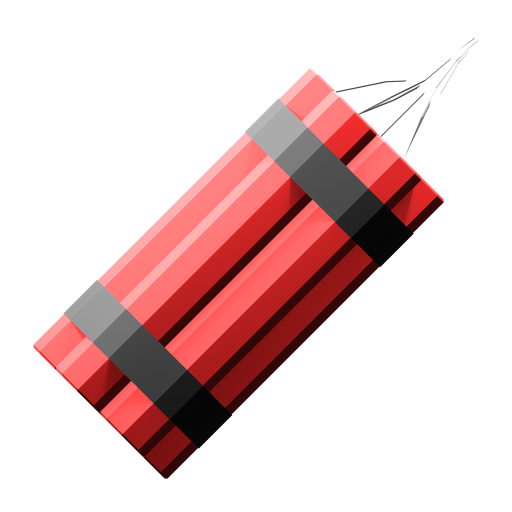 Dynamite
Catalog version 1.0.12
Why piles trigger chain reactions
An activated stick has a configured three-second fuse. An explosion can force nearby explosives to detonate after their shorter 0.2-second delay. That creates a chain reaction instead of requiring you to ignite and wait for each stick separately.
Prepare the encounter before igniting anything. Keep the target's likely position in mind, ready a ranged weapon for follow-up damage and leave yourself a way out of the blast area. These are practical consequences of the fuse and overlap rules, not a tested placement recipe.
Patch 1.0.11 made your own explosives lethal even with friendly fire disabled. Turning that option off is not a reliable way to stand beside your pile.
Tuna and Albatross require two separate encounters
Catch and defeat Tuna, then keep its body for the Albatross trigger. Leave it unheld inside the encounter area while no other boss is active. The bird arrives through that trigger, not because you detonated explosives there.
Albatross has no half-health invulnerability phase in the inspected controller. That makes concentrated damage a plausible preparation choice, but the bird can still move. This guide does not promise a grounded target, a fixed explosive count or a sub-ten-second result.
The Piranha, Pufferfish and final whale have protected phase transitions. Avoid spending the next blast while the boss cannot take damage. Use the corresponding fight guide to recognize the transition and stay clear of attacks during it.
What Easy actually checks
Easy requires a main boss to die within ten seconds of the encounter starting. It does not time only the last portion of damage, and it does not accept a fast miniboss kill.
| Counts as a main-boss target | Does not count for Easy |
|---|---|
| Spider Crab, Giant Piranha, Pufferfish, Albatross, Mutated Bowhead Whale | Sunfish, The Old Pike, Blue Shark, Tuna, Goblin Shark, normal Bowhead Whale |
Have your preparation complete before the encounter begins. A strong weapon or explosive setup may help, but the source condition alone does not establish a successful ten-second route. The achievement hub covers Handyman separately: that attempt needs a low-damage final hit on the mutated whale, so stop explosive damage before the finish.
Explosives and money use different tradeoffs
Explosion kills receive a 1.25x kill-score multiplier in the runtime path. The bonus-preview menu's 1.5x example does not match that award. Explosions also do not combine the normal ranged headshot, scope and ammunition bonus checks.
For maximizing a particular catch's value, use the full kill-score table. For Everyone's dream, the target is a seagull, not Albatross; see the trick-achievement guide.
Underwater explosions use their own catch-spawning path. The 10% Drip rule for ordinary rod catches should not be applied to that path without separate evidence. Use rod fishing and the correct bait for a targeted Drip hunt.
Explore the encyclopedia
DynamiteCatalog version 1.0.12
 Tuna
TunaCatalog version 1.0.12
 Albatross
Catalog version 1.0.12
 Mutated Bowhead Whale
Catalog version 1.0.12
Related articles
- How to Fish trick achievements: Noob and 360
Check the exact How to Fish triggers for Noob, 360 no scope, the flying boat and seagull achievements, with practical setups and common failed conditions.
- How to Fish boss lures: prices and where to buy
Find every How to Fish boss lure, its price and shop island, then follow the quest-bait and creature-body triggers for Albatross and the final whale.
- How to Fish Tuna guide: lure and Albatross bait
Catch Tuna in How to Fish with the right boss lure, prepare for its three-minute fight, and keep the body for the Albatross encounter on Island 4.