
Valheim · Guides
Valheim boss order and progression: Meadows to Deep North
Progression and final-boss spoilers. The recommended boss order for a first Valheim 1.0 playthrough is Eikthyr → The Elder → Bonemass → Moder → Yagluth → The Queen → Fader → Kall Fimbulbringer. Follow Meadows, Black Forest, Swamp, Mountains, Plains, Mistlands, Ashlands and Deep North in that order while upgrading your food, equipment and production stations.
You can enter some biomes before beating the previous boss. This order helps you prepare for their resources and hazards. Doors, recipes and world events have specific requirements, and other players or world settings can change what you can access.
Boss order, offerings and what to do next
| Stage | Boss and biome | Offering or entry | Useful next objective |
|---|---|---|---|
| 1 | Eikthyr, Meadows | 2 Deer Trophies | Use Hard Antler for your antler pickaxe, then begin Black Forest mining. |
| 2 | The Elder, Black Forest | 3 Ancient Seeds | Take the Swamp Key to the Swamp's locked crypts and establish an iron supply. |
| 3 | Bonemass, Swamp | 10 Withered Bones | Equip the Wishbone to help locate buried resources as you prepare for the Mountains. |
| 4 | Moder, Mountains | 3 Dragon Eggs on the altar's stands | Use Dragon Tears for an Artisan Table and develop your Plains production. |
| 5 | Yagluth, Plains | 5 Fuling Totems on the altar's stands | Use Torn Spirit for a Wisp Fountain, collect wisps and prepare a Wisplight for Mistlands travel. |
| 6 | The Queen, Mistlands | Sealbreaker for the citadel door; 3 Seeker Soldier Trophies for the offering bowl | Use Majestic Carapace for an Artisan Press and follow its crafting chain toward Ashlands equipment. |
| 7 | Fader, Ashlands | 3 Bells on the altar's stands | Use Kindled Ribs for an Eternal Pyre and prepare for Deep North exploration. |
| 8 | Kall Fimbulbringer, Deep North | 3 Malicious Blood | Finish all encounter stages, collect the final drops and follow Hugin's return-to-the-start instruction. |
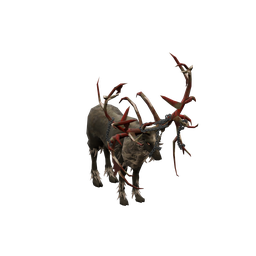
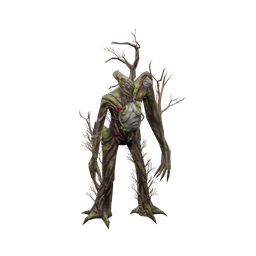
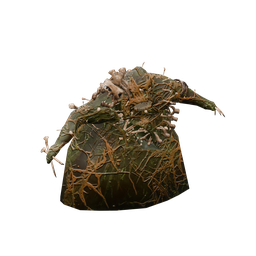
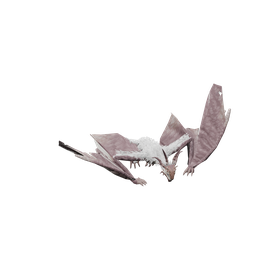
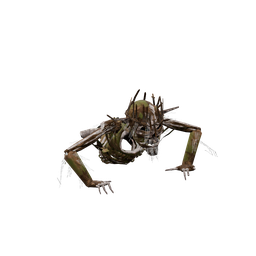
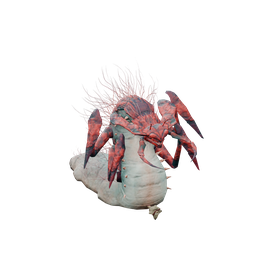
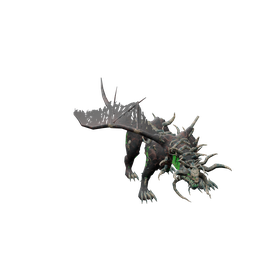

The Queen's entrance key and offering bowl serve different interactions. Carry a Sealbreaker for the Infested Citadel door; the trophy offering does not replace that key.

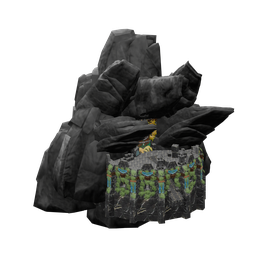
Check the linked boss page for the altar, damage types, drops and exact world key. Boss defeat can change raid eligibility. Use the progression tool to compare world progression with player-based event settings before assuming everyone in a shared world has the same conditions.
Start with a base you can return to
Make a sheltered base with a usable bed, fire, workbench and food supply. Explore from it, bring new materials home, and check the recipes they reveal. Prepare a return route and spare equipment before sailing beyond familiar land. The getting-started guide covers the first steps.
After Eikthyr, use your pickaxe to develop metal production. Upgrade the weapon and shield you actually use, then compare their next quality level with a newly available weapon. A new material does not make every weapon better against every target. Use equipment comparison to compare item quality and Blocking skill, then use the combat calculator for target defenses. The weapon-choice guide explains the tradeoffs.
Prepare for the Swamp, Mountains and Plains
For the Swamp, bring the Swamp Key, a repair plan and a route for moving iron home. Prepare poison resistance before a poison-heavy encounter and keep enough stamina for retreat. Wet conditions affect stamina recovery, so refresh food and Rested before entering rather than judging readiness only by armor. Check combat and magic for blocking, resistance and mead use, and sailing and portals before planning ore transport.
Before the Mountains, solve cold exposure with the appropriate effect or equipment and plan how to carry the three eggs to Moder's altar. Before the Plains, develop the Artisan Table's production chain and compare the food and equipment that your available ingredients can sustain. You can tackle these trips when your supplies are ready; there is no fixed character level to reach first.
Prepare for the Mistlands
Build the Wisp Fountain and obtain a Wisplight. Keep a route back through difficult terrain, and collect new materials for the biome's stations and recipes before committing to the Queen's citadel.


For food, Misthare Supreme supplies more health than stamina, while Salad supplies more stamina than health. A magic loadout also needs Eitr food; Yggdrasil Porridge is one option. Use the food planner to choose three distinct foods around your available ingredients and intended activity.


Carapace Breastplate is an armor option once you can craft it. Compare its quality and movement modifier with your existing equipment. Do not treat an armor upgrade as a replacement for enough stamina to move, block or dodge.

Secure an Ashlands landing
Prepare transport, a return plan, food and repair access before landing. Once established, collect the biome's materials and follow their station requirements instead of expecting every recipe to appear from entering Ashlands.
Flametal Breastplate is one heavy armor option. Piquant Pie and Mashed Meat favor health; Scorching Medley favors stamina. Their recipes and preparation chains differ, so choose food you can replenish. Magic users should compare Eitr options in the food planner as well. There is no single best combination for melee, ranged combat, magic and building trips.


Use Fader's Kindled Ribs to build an Eternal Pyre. Follow its recipe and crafting outputs to prepare for Deep North. Older guides may end at Fader, but 1.0 continues north.


Deep North and the final Kall encounter
Kall Fimbulbringer has three encounter stages. Defeating the first starts the second, then the third. Stay for the full fight. The final stage supplies Sacrificial Blood and a Crown Jewel. The Crown Jewel is used to craft the Crown of Valheim.
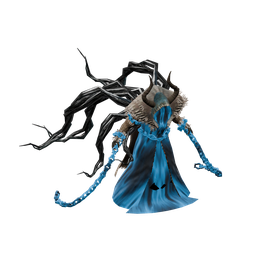


Picking up Sacrificial Blood prompts Hugin's instruction to return to where your journey began. Bring it back to the starting sacrificial stones; their dedicated item stand accepts the blood. The final hand-in requires the blood from the last stage.
What if I am stuck or have finished the bosses?
If a recipe is missing, use the acquisition and unlock tool to check known ingredients, station knowledge, quality and other conditions. You may have enough materials but still need to discover an ingredient or station.
Skills improve as you use them. The mechanics laboratory can compare skill gain and death-loss assumptions. Choose equipment around the activity you want to practice rather than waiting for an arbitrary skill target before exploring.
For a separate dungeon quest, follow Hildir's Request. After the main route, useful self-directed goals include the achievement requirements, improving a sustainable food supply, completing equipment sets and building in newly explored areas. Choose whichever gives you a reason to head out again.
Sources
Related articles
- Valheim building guide: support, roofs and smoke
Fix collapsing pieces, exposed workbenches, unusable beds and smoky fires in Valheim. Plan a base with enough support, shelter and room to work.
- Valheim equipment guide: choose weapons, armor and arrows
Compare Valheim weapons at the quality you can make, choose arrows for boss resistances, and weigh armor, shields and woodcutting tools against their costs.
- Valheim combat and magic: blocking, dodging and Eitr
Block, parry and dodge in Valheim without running out of stamina. Check stagger, Eitr food, blood magic health costs and healing mead restrictions.